Deploy a Web App to an AKS Cluster using AWS Codepipeline and ArgoCD.
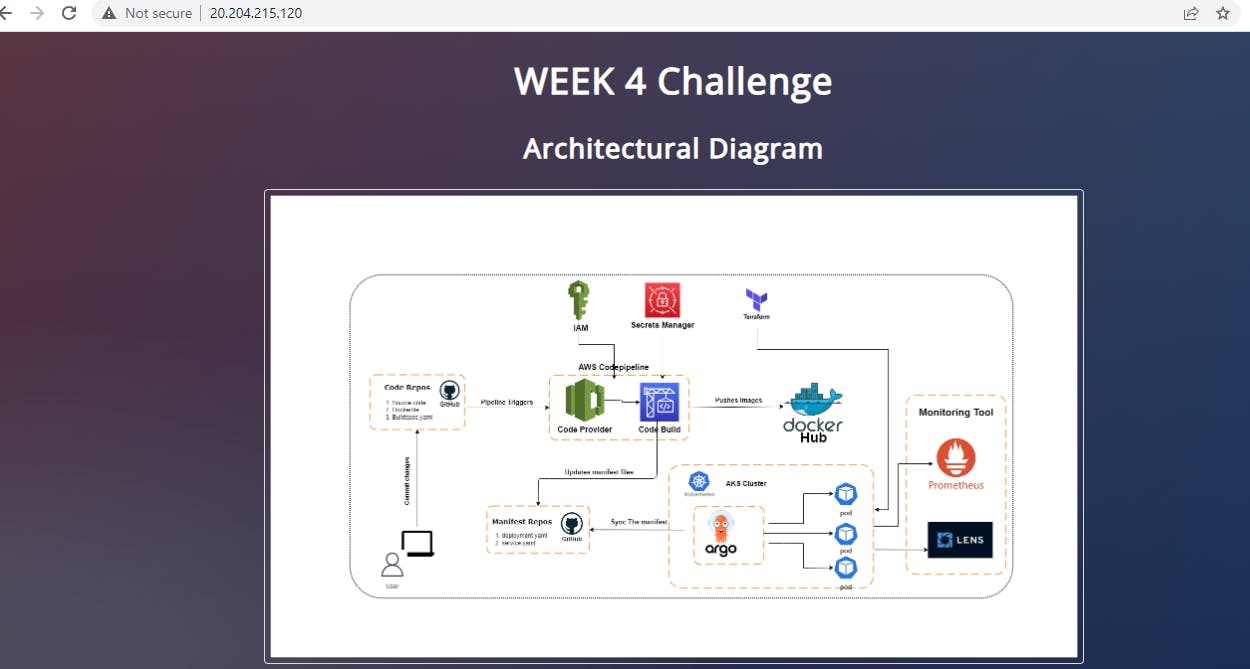
Architectural Diagram


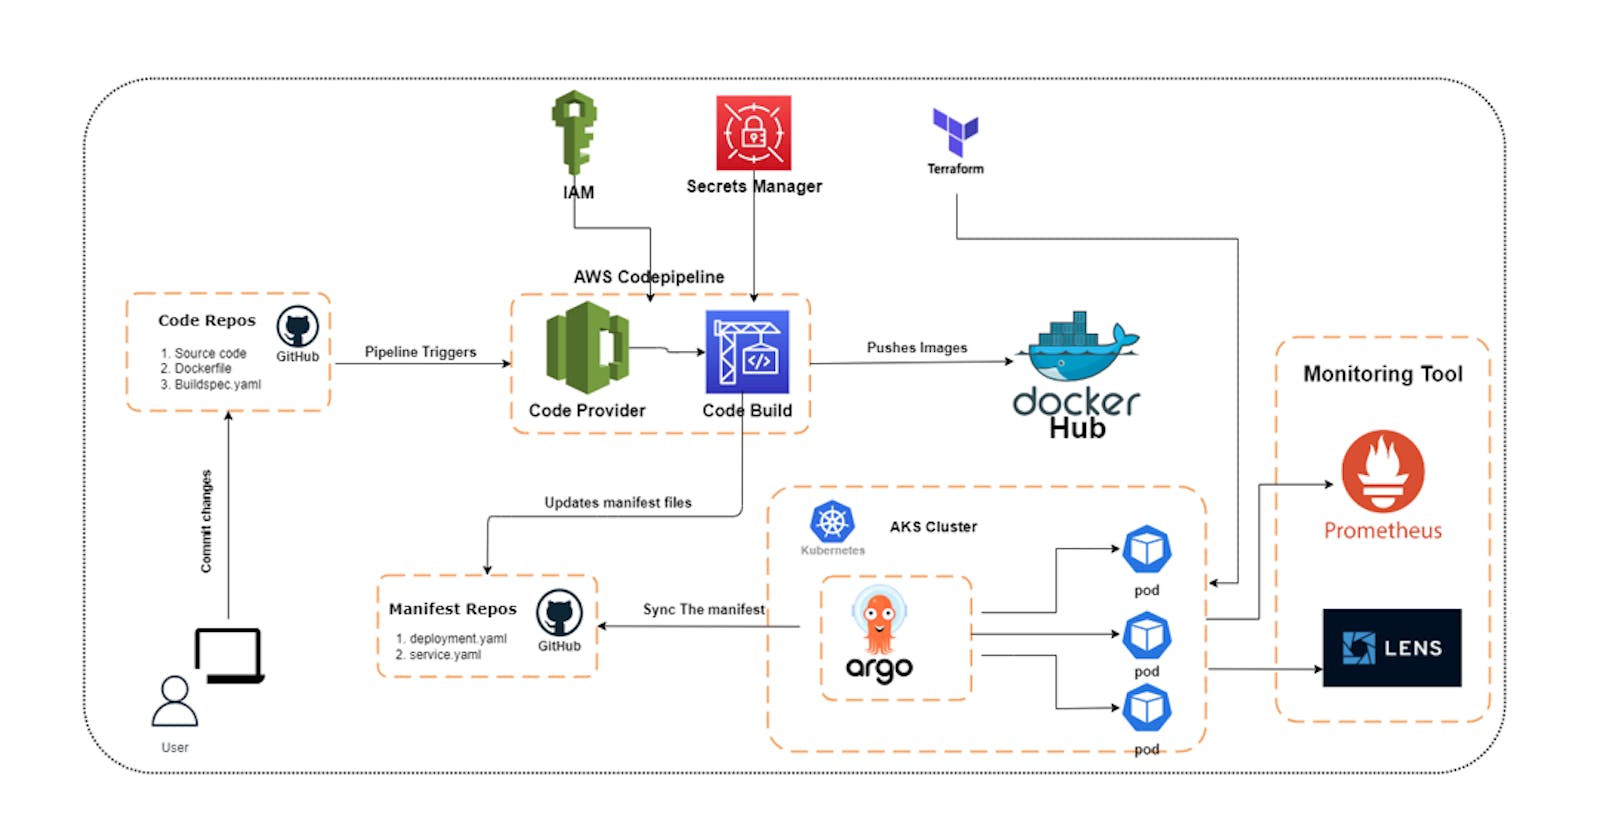
In this project, we will be deploying a simple web app in an AKS Kubernetes Cluster provisioned through Terraform. Also, We will be creating CICD for the code changes using AWS Codepipeline and ArgoCD.
Project Details:
• Dockerize a web application
• Provision a Kubernetes cluster using terraform( EKS/AKS/GKE/Minikube)
• CICD on Kubernetes using ArgoCD
• Security and best practices should be kept in mind.
This project has been divided into 4 parts and for each part, there is a blog written.
Part I: Configuration of AKS Cluster using Azure portal and Terraform
Part II: Configuration of ArgoCD UI and CLI
Part III: Deploy a Web App to an AKS Cluster using AWS Codepipeline and ArgoCD
Part IV: Set Up Monitoring Tools for Kubernetes using Prometheus and Lens
Part I and II are the prerequisite for this project. You can find the details for configuration in the above link.
This is Part III, where we will Dockerize a web app and write a manifest file for Kubernetes deployment. I have created two Github repos, one to store source codes and the other for manifest files. Check out the repos in the below link.
Codes Repo (demoargocd)
Manifests Repo (K8smanifest)
Execution plans:
Create a repository in DockerHub where we will push our image.
Generate a Git Token which we will use in buildspec.yaml file to set remote git URL and to pull and push.
Create a AWS Secret manager where we will store our secrets key (i.e docker hub username, password, git_token etc) which will be used in buildspec.yaml file.
Create an AWS build project. This build project will create a docker image from a Dockerfile mentioned in the repo --> Then it will push that image to Dockerhub repo --> Also it will update the deployment.yaml file in the manifest GitHub repo.
Modify the IAM codebuild service role created during the build project. Give access policy to read from AWS Secret manager.
Create AWS Codepipeline for continuous integration.
Create an App on the ArgoCD cluster to deploy our docker image in pods.
Creation of Docker Hub Repo
Steps:
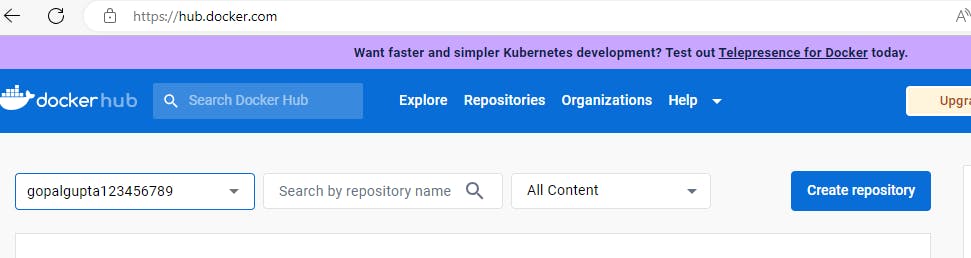
login to https://hub.docker.com/ if you already have an account then you can log in else create your DockerHub account by signing up.
After you successfully logged in. Click on Create Repository.
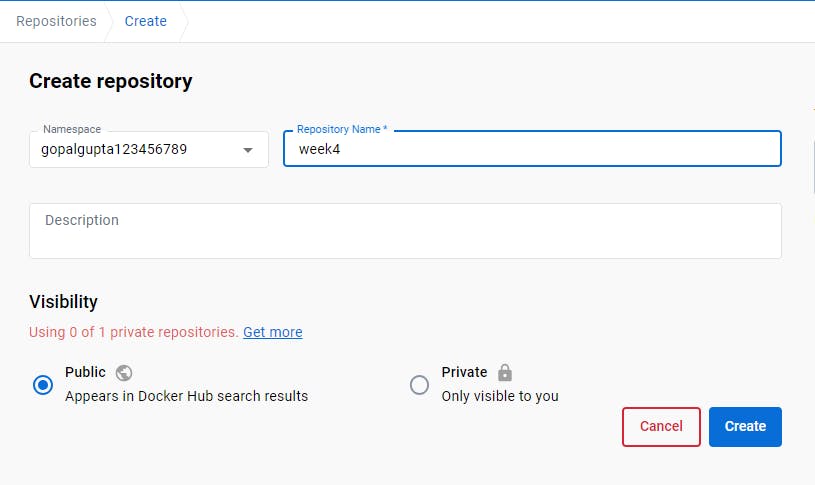
Name your repository and make it public. In this repo, we will be pushing our docker images.
Dockerize your web app
Make sure you have docker installed in your system. To check you can run \>> docker -v command to check the version of your docker.
Steps:
Once your application codes are ready. We need to create a Docker file. A Docker File is a simple text file with instructions on how to build your images.
And Docker images act as a set of instructions to build a Docker container.
Below is my Dockerfile content. As I am deploying a simple html page in Nginx web server. I am importing the nginx:alpine image from the docker hub using FROM command.
After that, using COPY command, location of source code I am copying to /usr/share/nginx/html folder which will serve our index.html page.
Note: here "." mean all source content from the current location of the Dockerfile.
 FROM nginx:alpine
 COPY . /usr/share/nginx/html
After you created your Dockerfile. Now it's time to build the docker image.
Use the below command to build your docker image. Also, you should be in the same directory where dockerfile is.
\>> docker build -t webapp .
It will look for the Dockerfile in the current directory.
If you have given your docker file name different then you can use the below command.
\>> docker build -t webapp -f [dockerfilename] [location_of_dockerfile]
After the build has been successful, your can view your images name with
\>> docker images command.
Now it's time to run the docker container of that image.
\>> docker run -d -p 80:80 webapp
-d stand for detach mode -p for port forwarding and the image name.

To check your running container
\>> docker ps

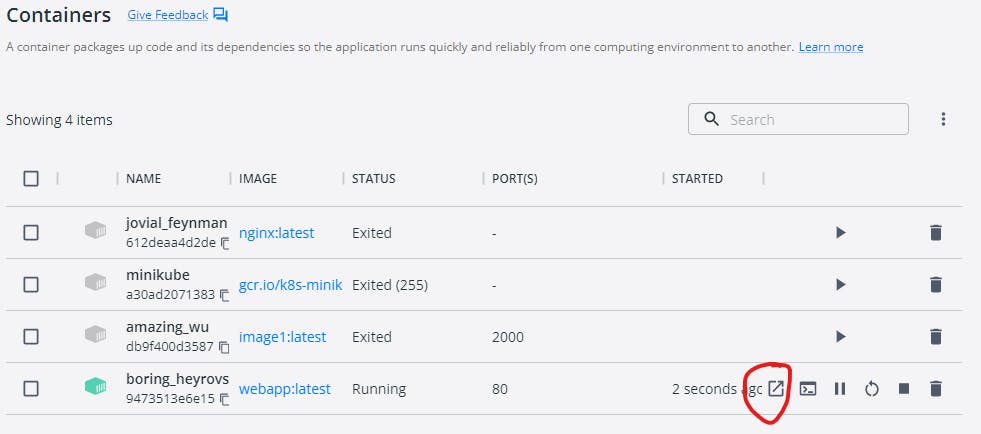
You can view your running container from the docker desktop also. Click on the browse option, it will redirect to the browser where your app is running.
Now after the successful creation of the docker image, it's time to push it to the docker hub repository which we created above.
First tag the webapp image with the repository name.
\>> docker tag webapp:latest gopalgupta123456789/week4:latest

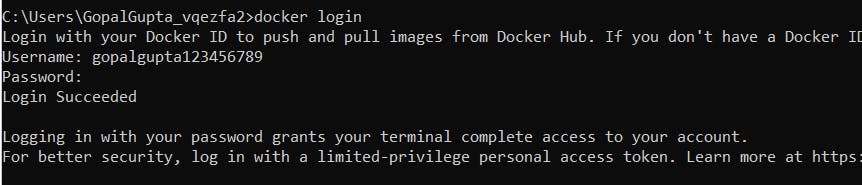
Run the below command to log in to the docker hub account.
\>> docker login
It will ask for your username and password.
To push it to your repository use the command.
\>> docker push gopalgupta123456789/week4:latest
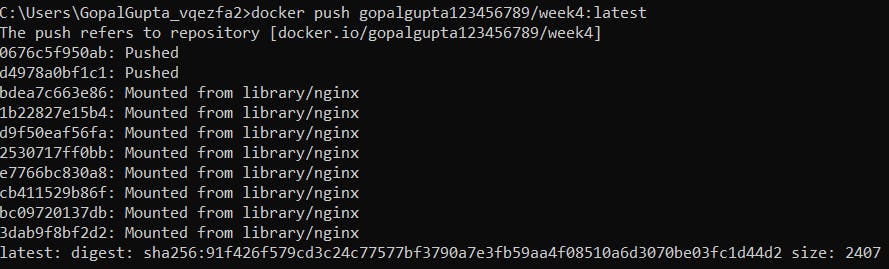
You can check your docker hub repo, the image has been successfully pushed.
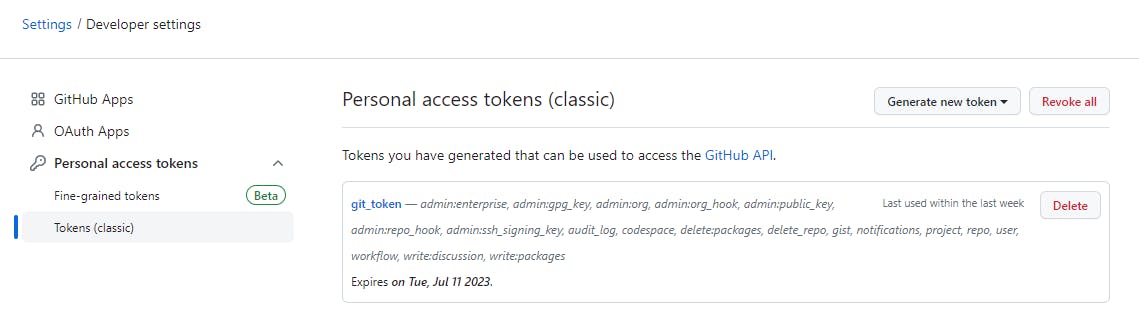
Generation Of Git Token
Steps:
Navigate to your Github Account --> Settings --> Developer settings --> Personal access tokes --> tokens (classic) -->Generate New token.
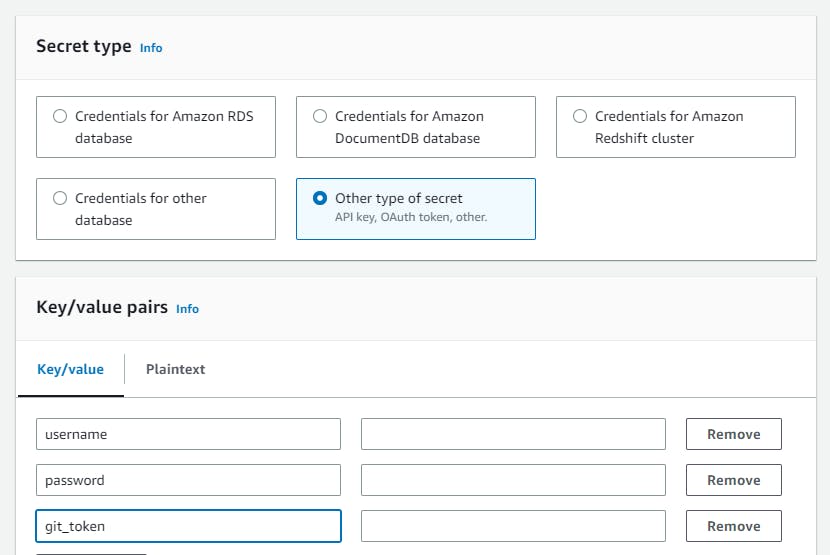
Creation of Secrets manager
Steps:
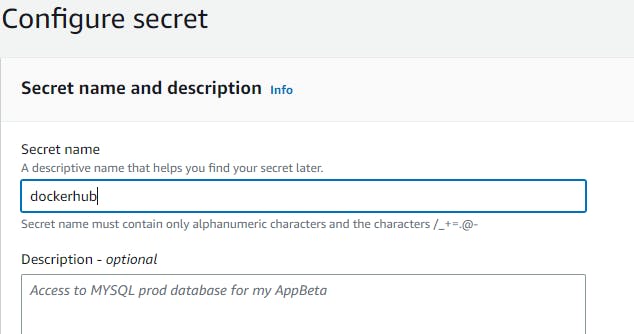
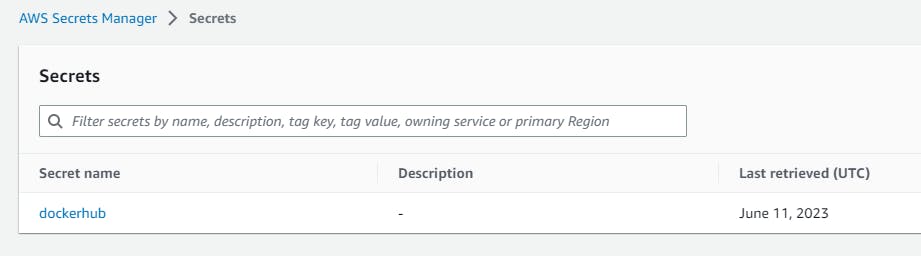
Navigate to AWS Secrets Manager --> Store a new Secret --> Secret Type (other type of secret) --> key/value pairs (give your requirements) --> Configure Secret --> Secret Name -->Configure rotation - optional --> keep everything default and click on store.

Configuring AWS CodeBuild
AWS CodeBuild is a fully managed continuous integration service that compiles source code, runs tests, and produces ready-to-deploy software packages.
Steps:
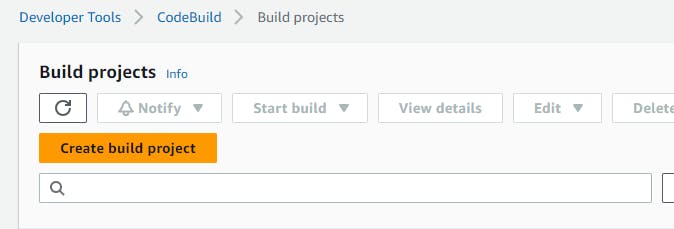
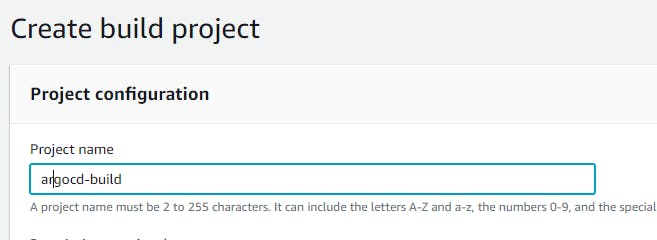
Navigate to the AWS console. Search for Codebuild --> Create build project --> Project name.
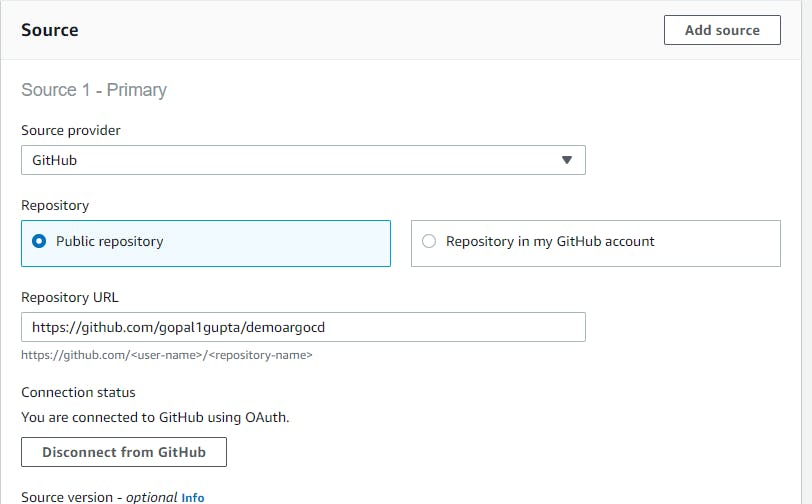
Source Provider --> Github --> Connect to your GitHub --> Repository URL.
I have already connected to my GitHub account.
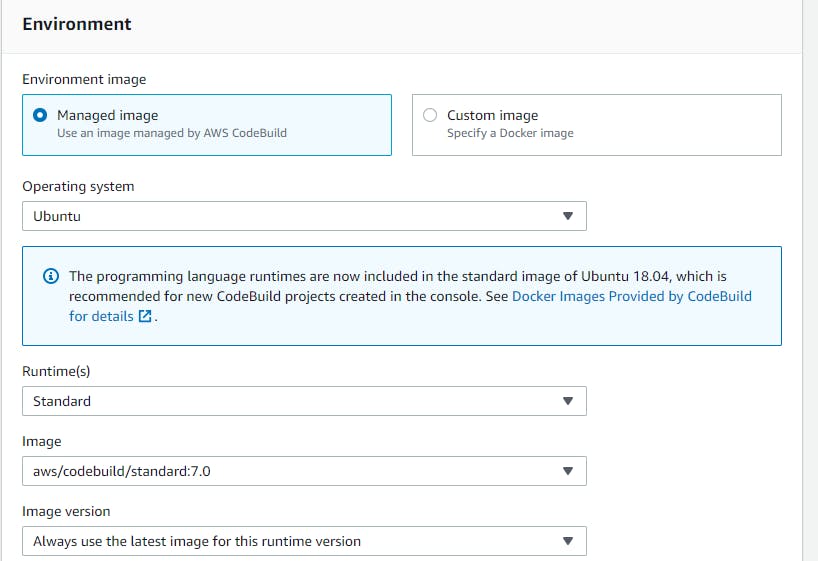
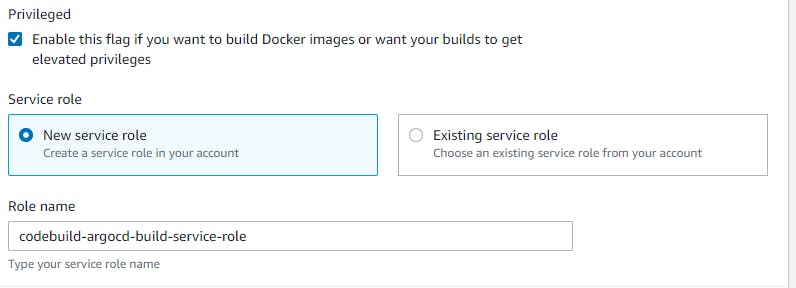
Environment --> Managed image --> Operating system (Ubuntu) --> Standard --> Privileged (flag this)
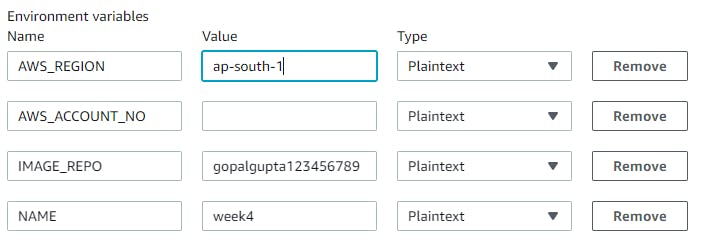
If you observe the buildspec.yaml file in the source repo, we have given the environment variables. So, expand the Additional configuration --> Environmental variable (define as per your requirements)
As we have already buildspec.yaml file in the repo. we don't have to insert build command.
Note : If your file name is not buildspec.yaml then you can define your build yaml file name in the optional section.
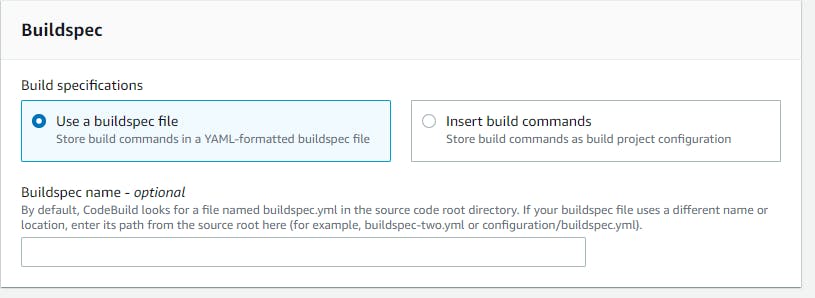
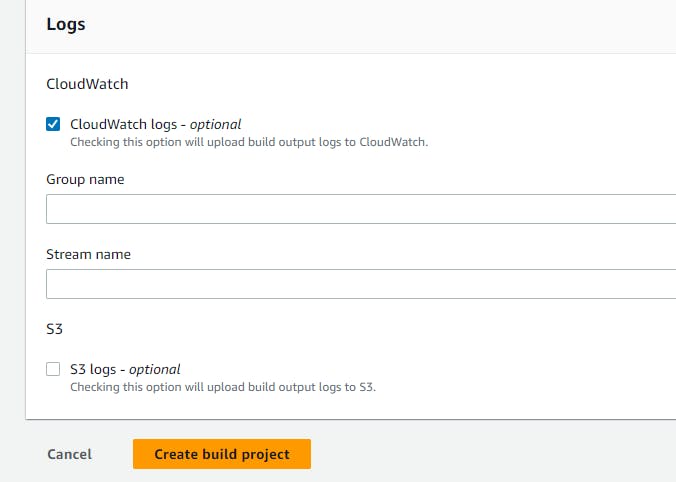
Click on Create Build project
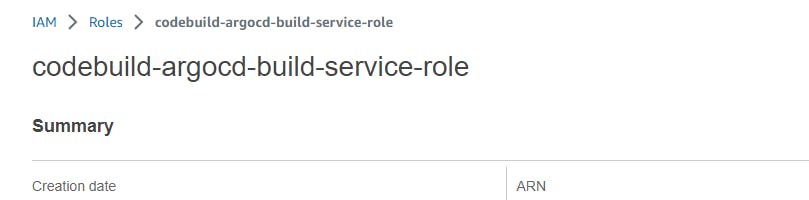
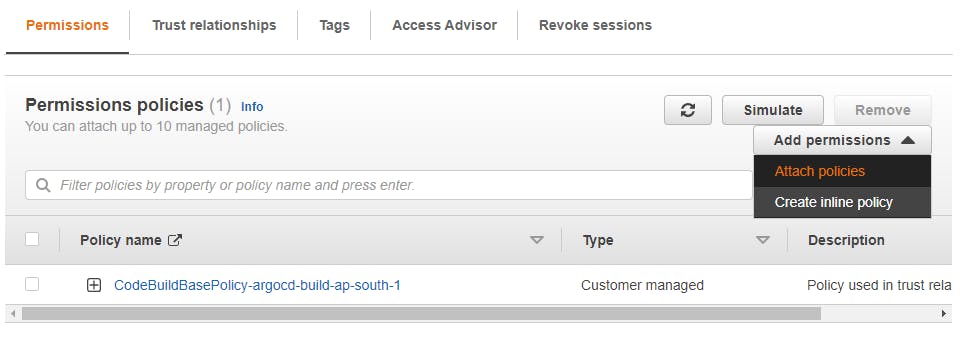
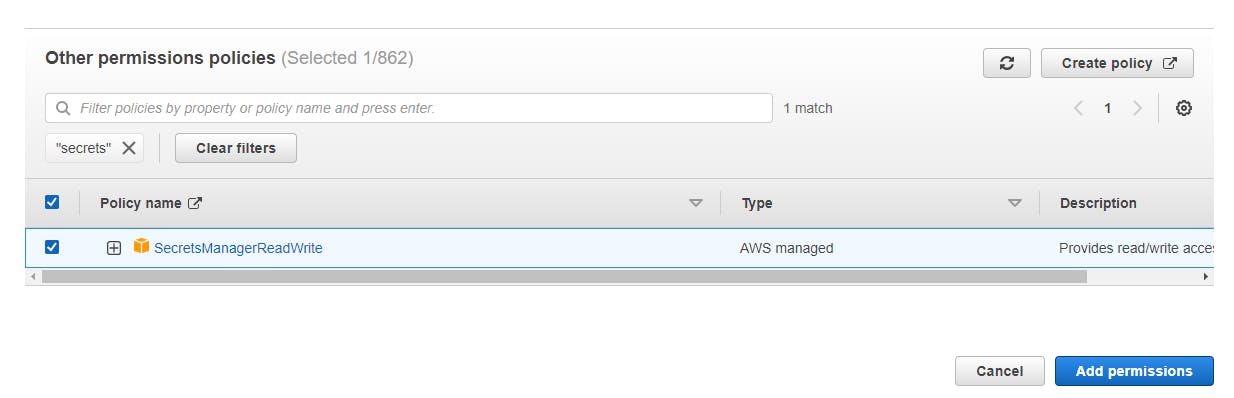
Modification of IAM role
Steps:
Navigate to IAM --> Role --> codebuild-argocd-build-service-role --> Add Permissions --> Attach policies --> Policy Name(SecretsManagerReadWrite)
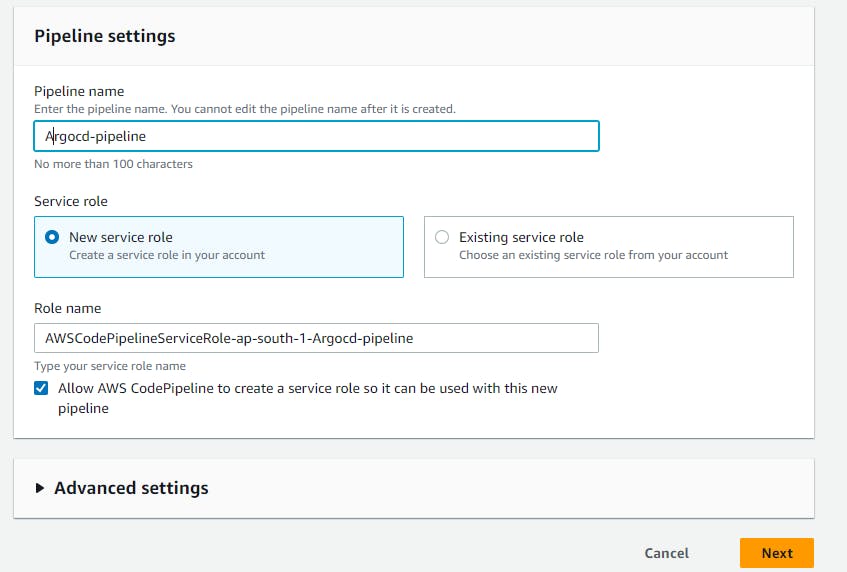
AWS Pipeline creation
Steps:
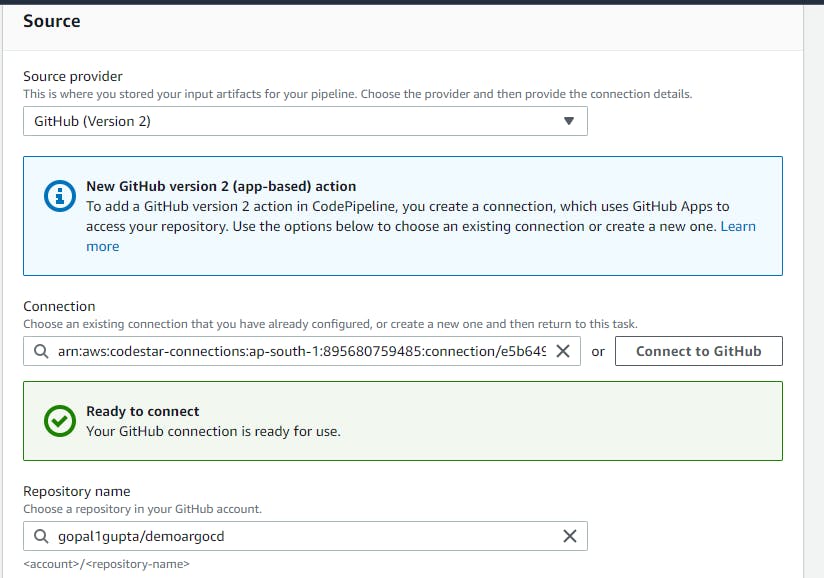
Navigate to AWS Codepipeline --> Pipeline name --> Source (Github Version 2) --> Connect to your Github --> Reponame --> branch
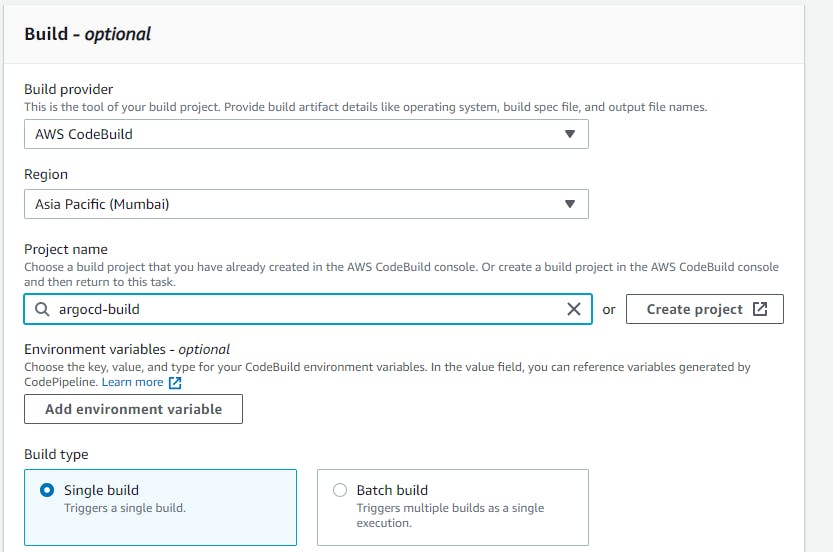
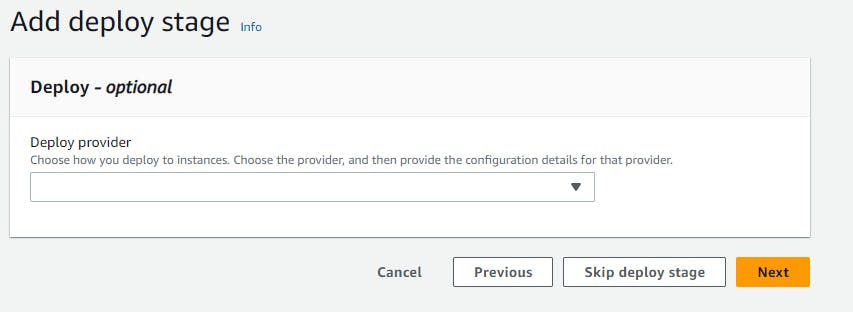
Build provider --> codebuild --> region --> Project Name (argocd-build)
Skip the deploy stage --> Create Pipeline
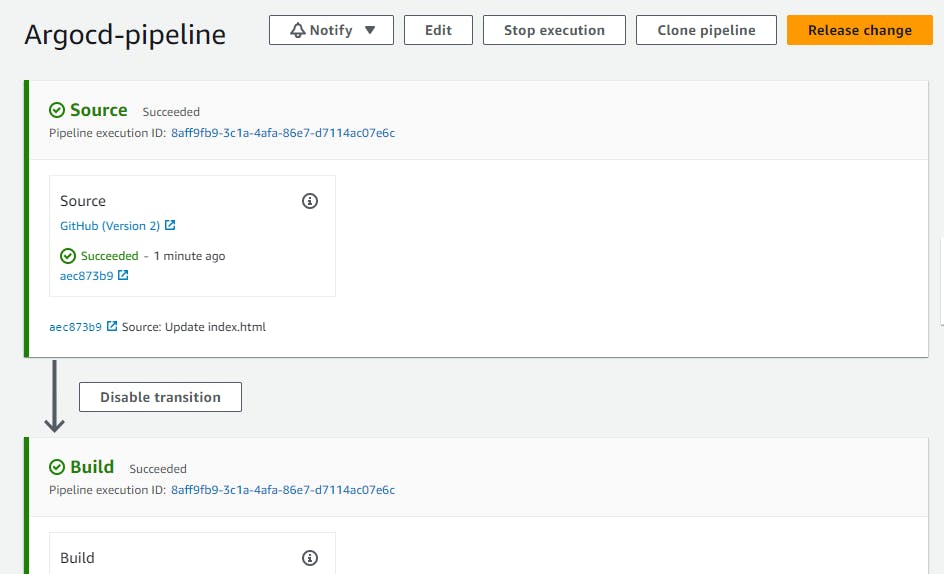
You can view your pipeline run successfuly.
ArgoCD App Creation
Steps:
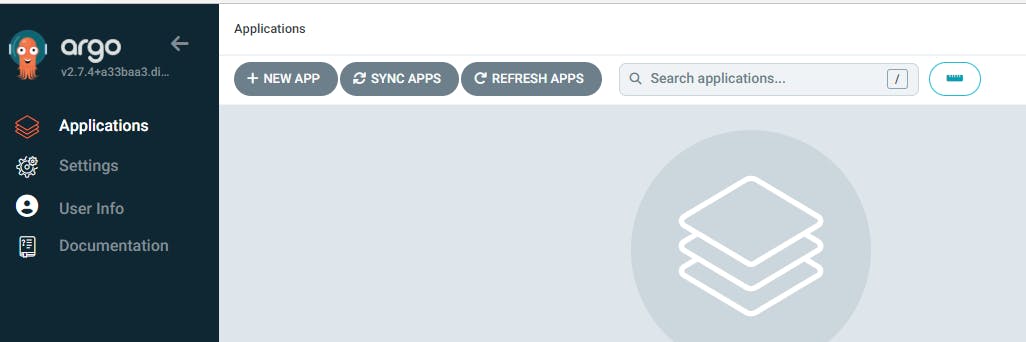
Navigate to your ArgoCD UI --> NEW APP
Application Name --> Project Name --> Sync Policy (Automatic) --> Auto Create Namespace
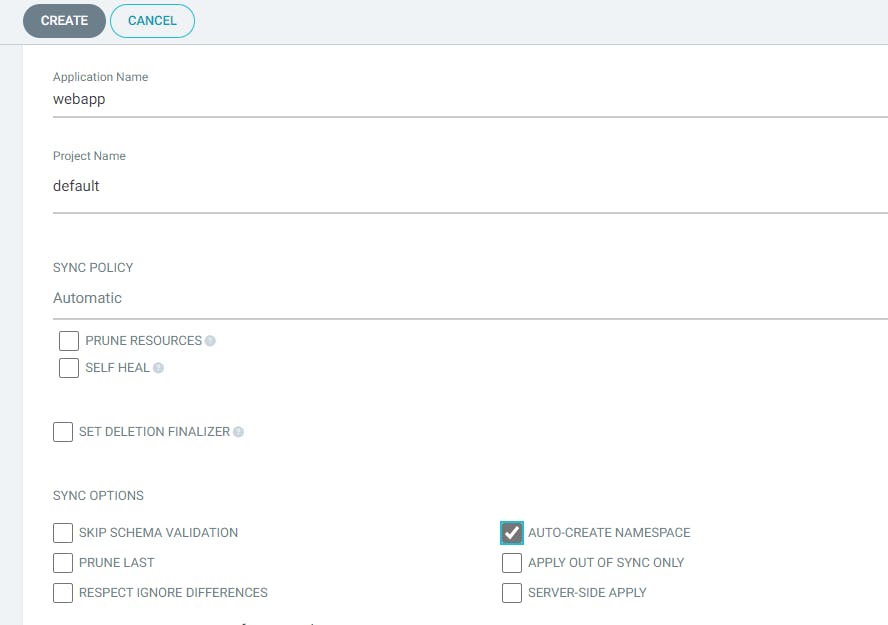
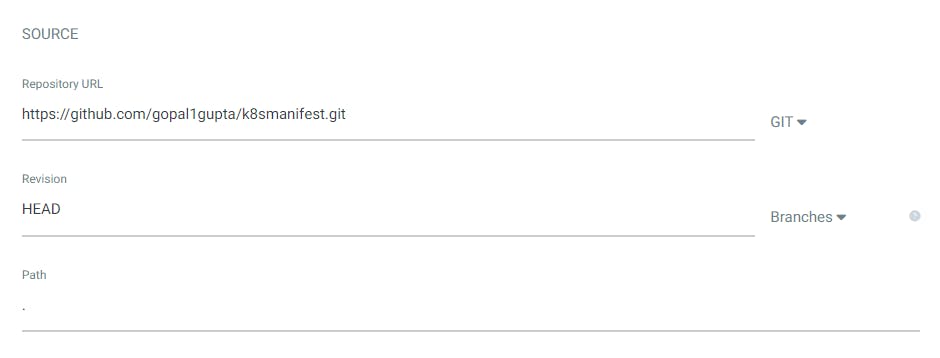
Source (give the repository URL of your manifest file) --> Path (.)
Note: If your manifest files are stored in a folder then you can define that path else give "." for all.
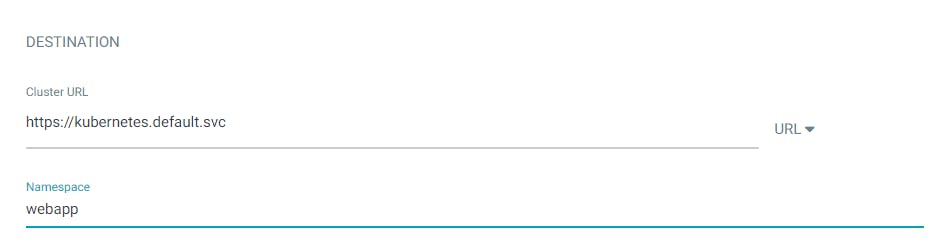
Destination --> Cluster URL --> give the namespace (if not present it will create new namespace)
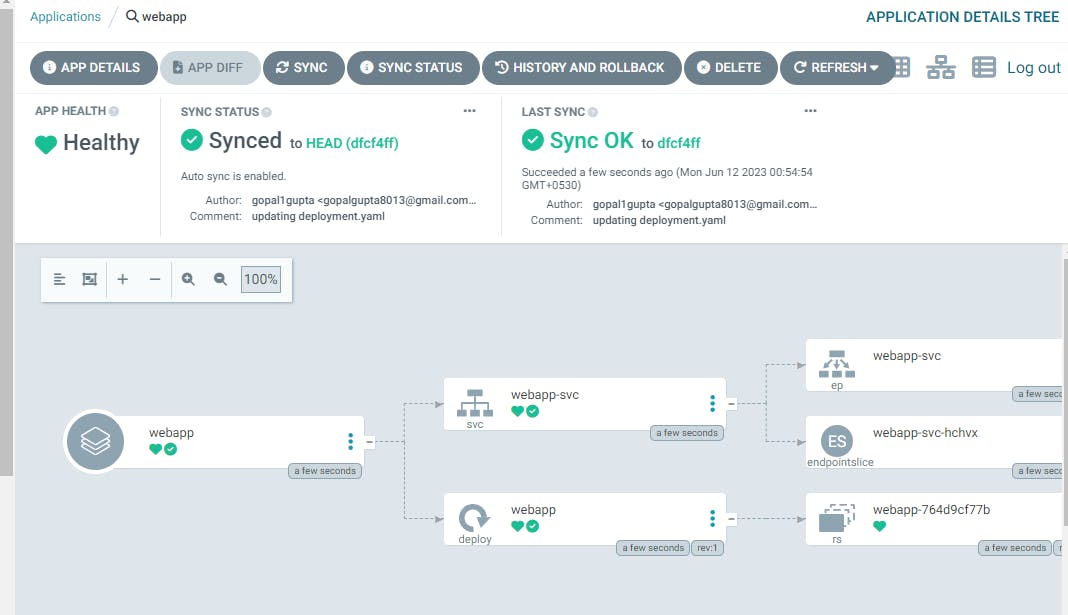
You can view your app is synced, healthy and deployed in the pods.
Accessing the web app using URL:
Run the command.
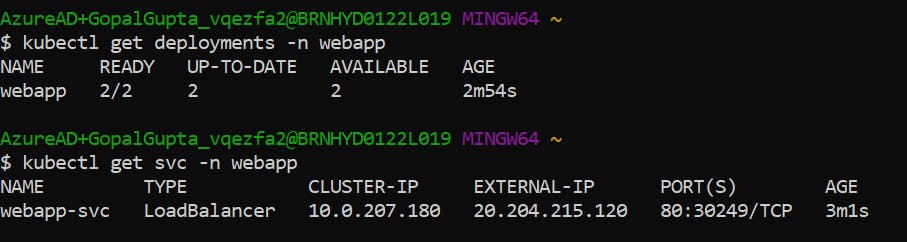
>> kubectl get deployments -n webapp
>> kubectl get svc -n webapp
You are viewing the external ip here because in service.yaml file in manifest repo, I have defined the service type as LoadBalancer.
Paste the URL in your browser. Tadaaaa!!!! your app is running.
For monitoring the Kubernetes You can view my PART IV blog from the above link.
Thank You for reading my blog. happy Learning!!!