Architecting 3 Tier Application on AWS VPC with ASG, ELB along Backup plan
Architectural Diagram

I am DevOps Engineer with 1 plus year of experience. I am 2x AWS certified and also Terraform Certified. I have good knowledge in DevOps tools like Docker, Kubernetes, Linux, Git, Terraform etc.
What is three-tier architecture?
Three-tier architecture is a well-established software application architecture that organizes applications into three logical and physical computing tiers: the presentation tier, or user interface; the application tier, where data is processed; and the data tier, where the data associated with the application is stored and managed as shown below.
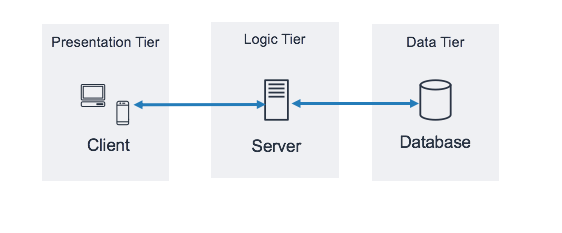
Presentation Tier
The presentation tier occupies the top level of the application. It sends content to browsers in the web development frameworks, such as CSS, HTML, or JavaScript, and displays information in the form of a graphical user interface (GUI), which allows users to can access it directly. It communicates with other layers by putting out the results to the browser and other tiers through API calls.
Application Tier
The application tier is also called the business logic, logic tier, or middle tier. Processing the business logic for the application builds a bridge between the presentation layer and the data layer to make communication faster between the presentation and the data layer.
The application tier is usually coded in C#, Java, C++, Python, Ruby, etc.
Data Tier
Data-tier is composed of a persistent storage mechanism and the data access layer. It supports connecting with the database and performing insert, update, delete, and get data from the database based on our input data.
Virtual private clouds (VPC)
A VPC is a virtual network that closely resembles a traditional network that you'd operate in your data center. With Amazon Virtual Private Cloud (Amazon VPC), you can launch AWS resources in a logically isolated virtual network that you've defined.
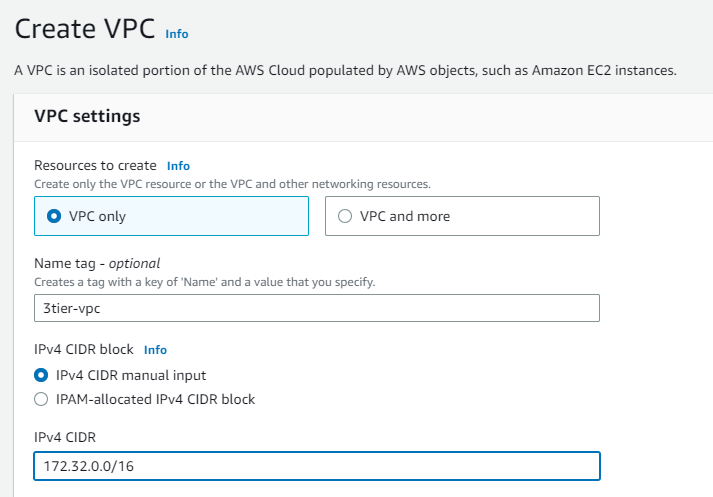
Creating a VPC
In the AWS Management Console, navigate to VPC → Create VPC →VPC Settings → Resources to create → VPC only (include a name), IPV4 CIDR block →
172.32.0.0/16→ Create VPC
Subnets
A subnet is a range of IP addresses in your VPC. A subnet must reside in a single Availability Zone. After you add subnets, you can deploy AWS resources in your VPC.
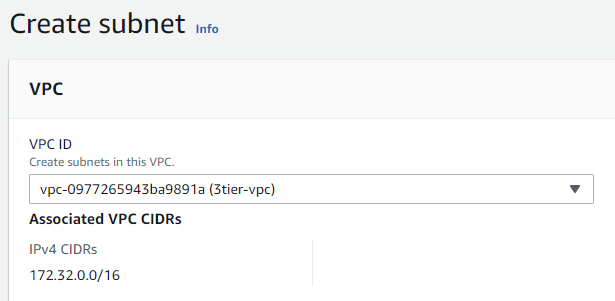
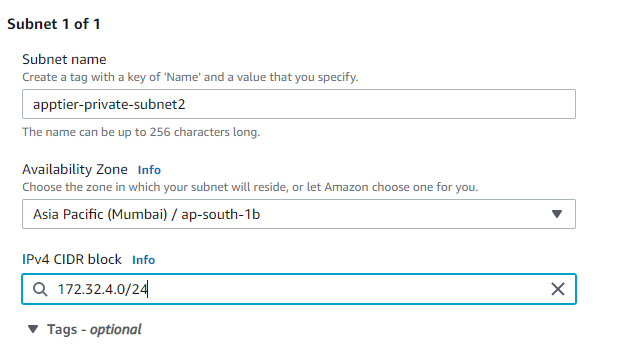
Creating subnets
Now navigate to subnets and follow Subnets → Create subnet → VPC → VPC ID → select the VPC created in the previous step. Name each subnet(say i.e webtier-public-subnet1) and provide a CIDR for each.
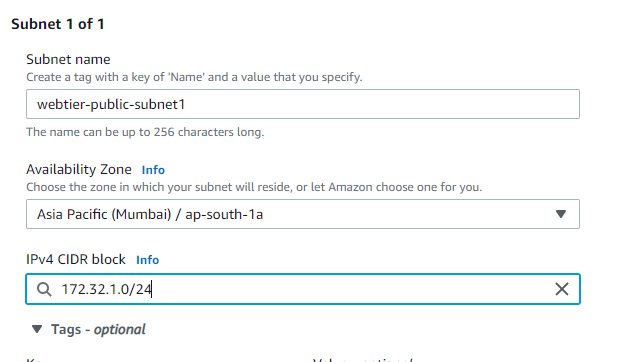
Similarly, we will be creating 5 more subnets with different CIDR ranges for web, app and database tiers in different available zones as shown in below table.
Subnets
Availability Zones
CIDR
webtier-public-subnet1
AZ1
172.32.1.0/24
webtier-public-subnet2
AZ2
172.32.2.0/24
apptier-private-subnet1
AZ1
172.32.3.0/24
apptier-private-subnet2
AZ2
172.32.4.0/24
dbtier-private-subnet1
AZ1
172.32.5.0/24
dbtier-private-subnet2
AZ2
172.32.6.0/24
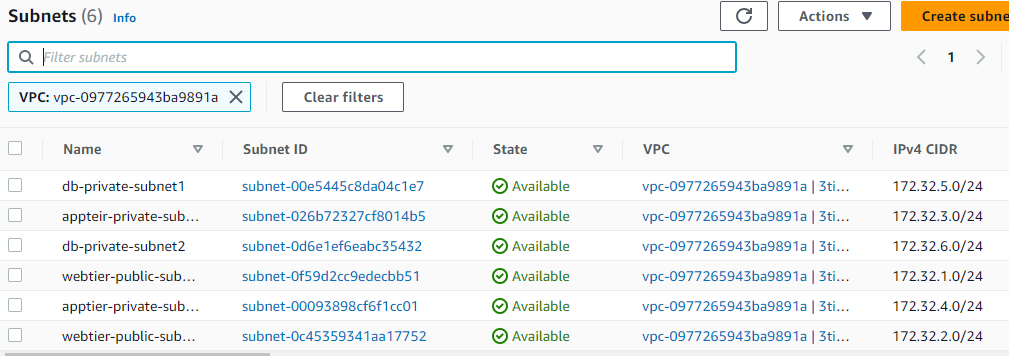
After all the subnets are created it will look like this
Internet gateway
An internet gateway is a horizontally scaled, redundant, and highly available VPC component that allows communication between your VPC and the internet. It supports IPv4 and IPv6 traffic.
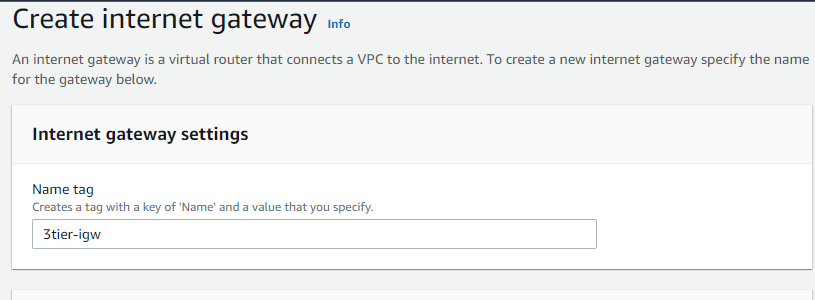
Creating Internet Gateways
Navigate to Internet gateways → Create Internet gateway → Name tag, give the name of your gateway.

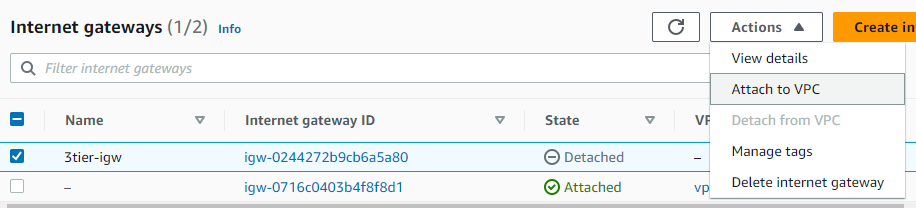
After IGW is created it needs to be attached to the vpc you created i.e. 3tier-vpc. So Select your vpc → Actions → Attach to VPC → then select your vpc
NAT gateways
A NAT gateway is a Network Address Translation (NAT) service. You can use a NAT gateway so that instances in a private subnet can connect to services outside your VPC but external services cannot initiate a connection with those instances.
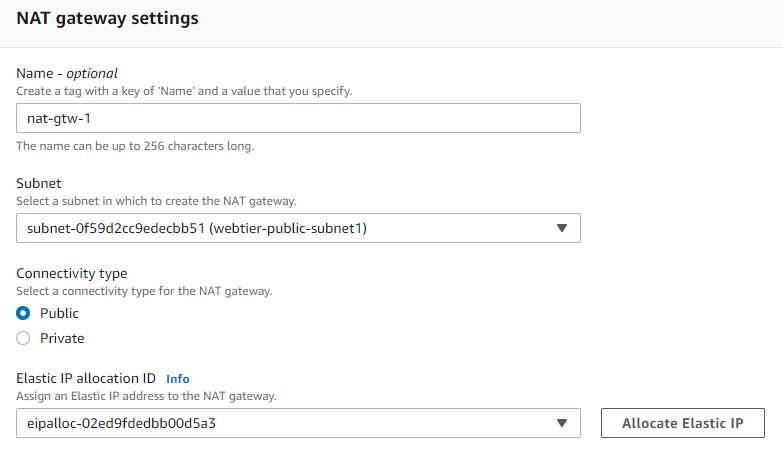
Creating Nat Gateway
Navigate to Nat gateway → create nat gateway →name →subnet (select the public subnet ) →Connectivity type(public)→ Allocate Elastic IP →Create Nat Gateway.
Route tables
A route table contains a set of rules, called routes, that determine where network traffic from your subnet or gateway is directed. Each route in a table specifies a destination and a target. For example, to enable your subnet to access the internet through an internet gateway, add the following route to your subnet route table. The destination for the route is 0.0.0.0/0, which represents all IPv4 addresses. The target is the internet gateway that's attached to your VPC
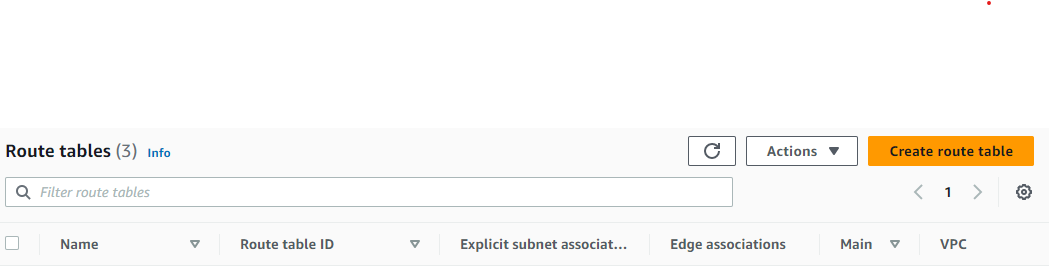
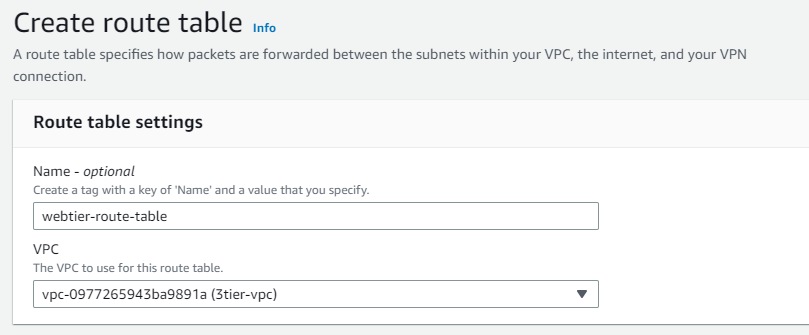
Creating Route Tables
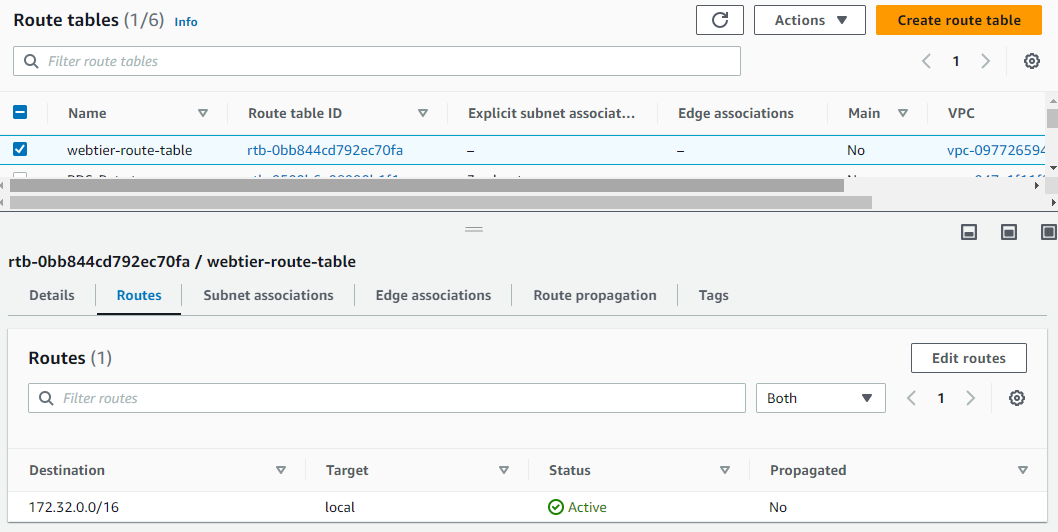
navigate to route tables →create route table → name your route table →select your vpc →create.
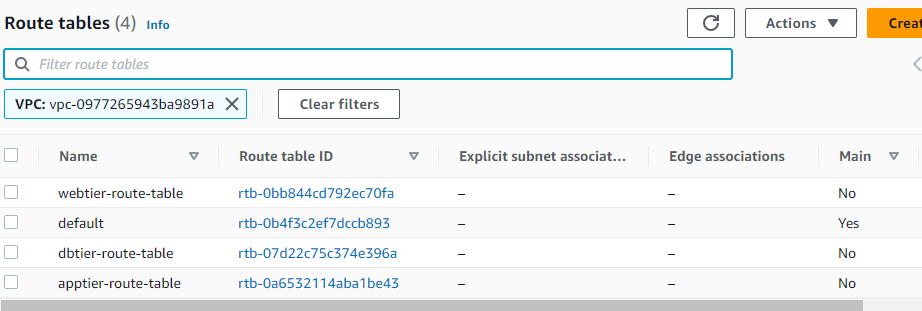
We will be creating 2 more route tables one for the app tier and one for the database tier. So after the creation of the route table, it will look like this.
Associating Subnets, IGW and Nat gateway with respective route tables
After route tables are created, it is necessary to associate your subnets with the route table. Also as our webtier will be facing the internet so in the route section we will provide internet gateway. similarly, for the app tier and database tier, we donot want to expose public facing internet directly so we will attach nat gateway in their routes section. You can see the below table for the respective route and subnet association.
Route table | Route | subnets association |
webtier-route-table | internet-gateway | webtier-public-subnet1 webtier-public-subnet2 |
apptier-route-table | nat-gateway | apptier-private-subnet1 apptier-private-subnet2 |
dbtier-route-table | nat-gateway | dbtier-priavte-subnet1 dbtier-priavte-subnet2 |
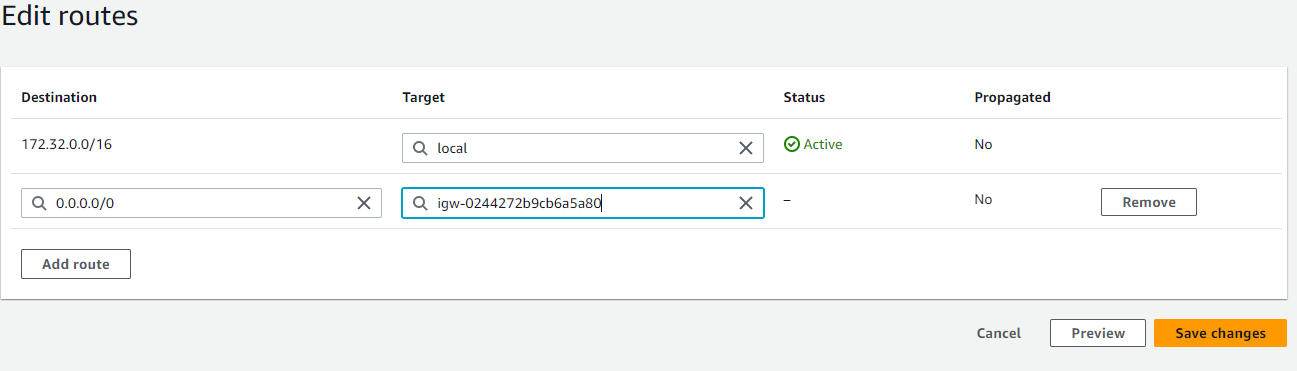
select your route table →Routes →Edit routes → add route → Destination(0.0.0.0/0) → internet gateway(you created) → save changes.
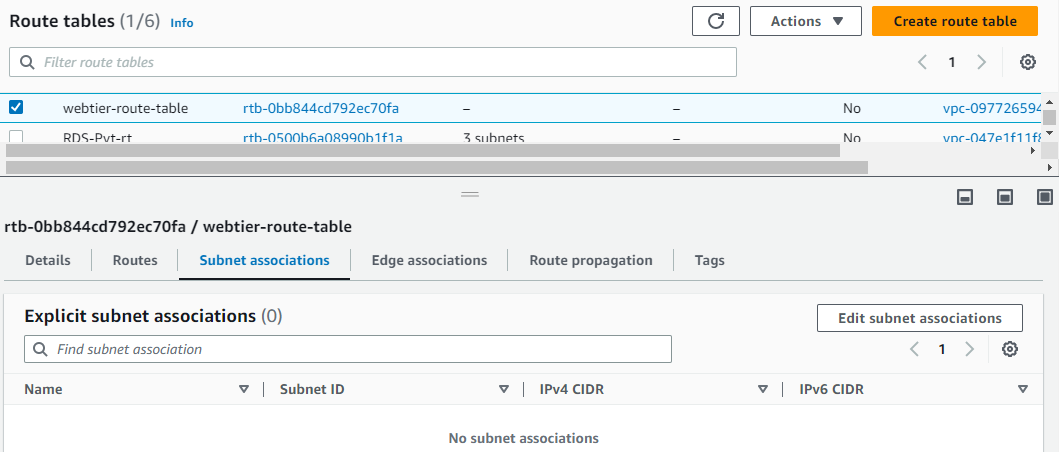
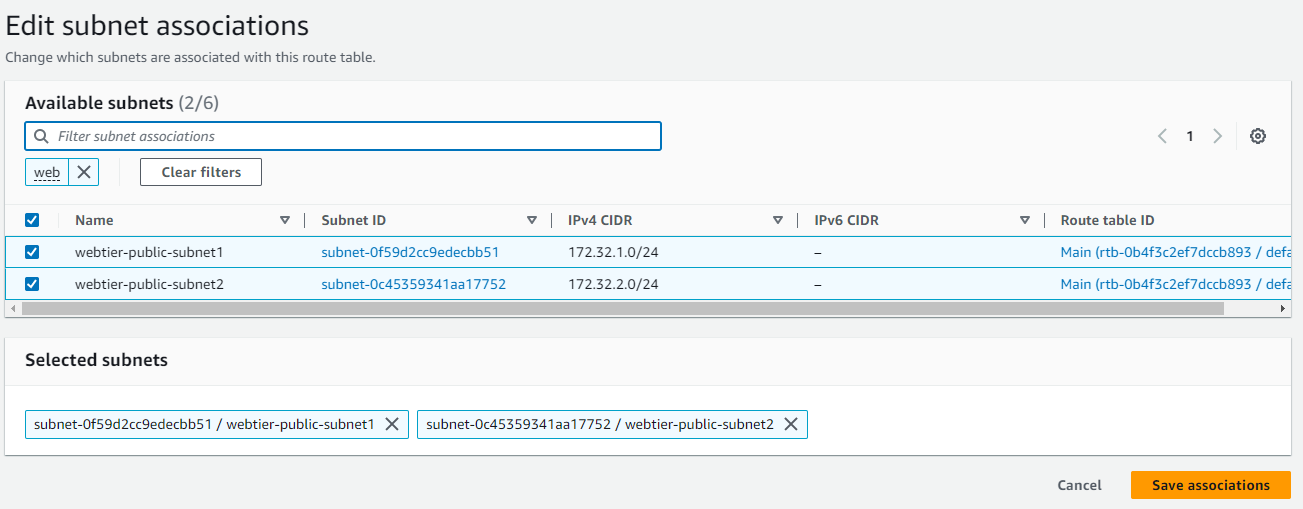
Now we will associate subnets in route tables go to → subnet associations → edit subnet association →select your subnets → save changes.
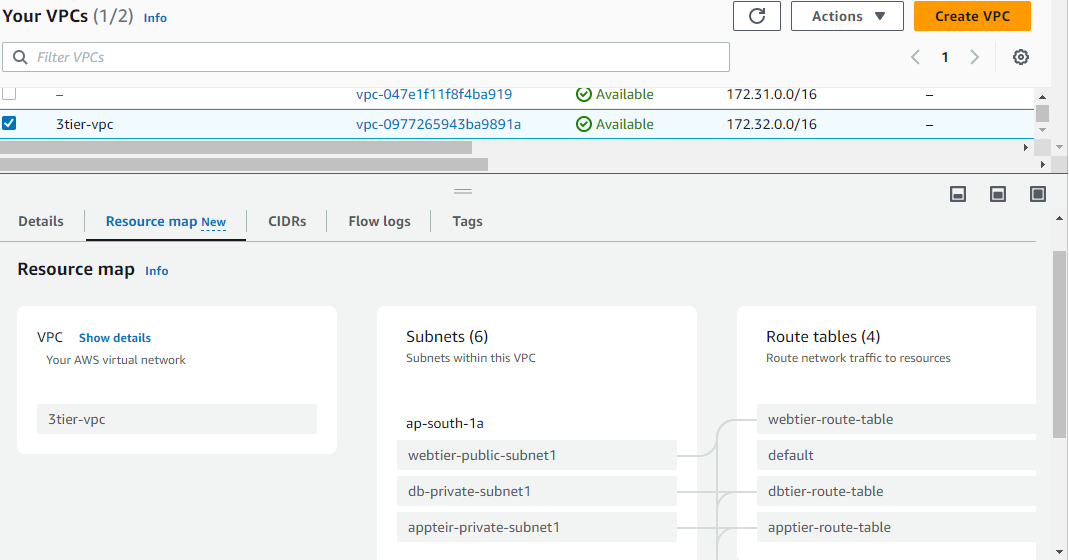
After all the subnets are associated with route tables you can view your mapping. Go to VPC → select your vpc → resources maps
Elastic Load Balancing
A load balancer accepts incoming traffic from clients and routes requests to its registered targets (such as EC2 instances) in one or more Availability Zones. The load balancer also monitors the health of its registered targets and ensures that it routes traffic only to healthy targets. When the load balancer detects an unhealthy target, it stops routing traffic to that target. It then resumes routing traffic to that target when it detects that the target is healthy again.
Create the Application Load Balancer
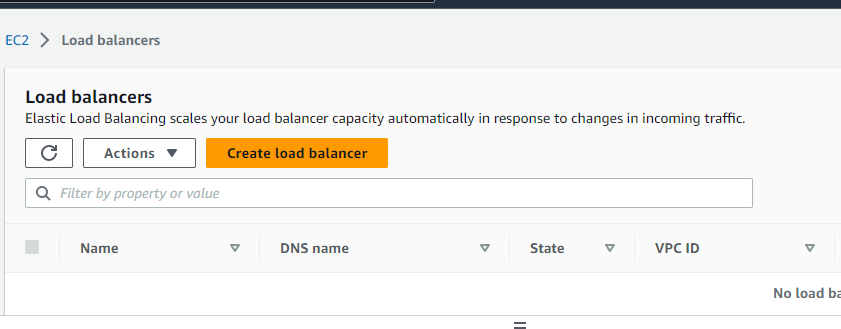
Navigate to EC2 in the AWS Management Console. Load Balancing → Load Balancers → Create Load Balancer
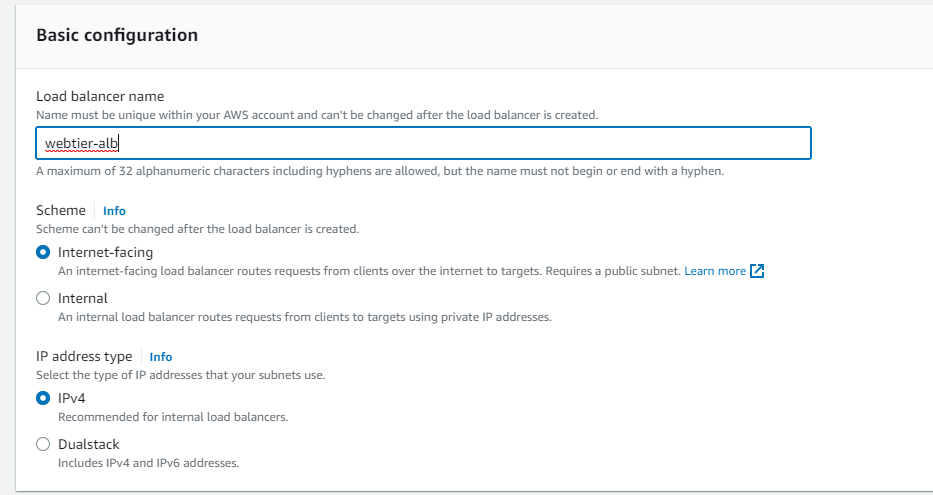
Select Application load balancer → Basic Configuration → Load balancer name (webtier-alb) , Scheme →select “Internet-facing”, IP address type → select IPV4
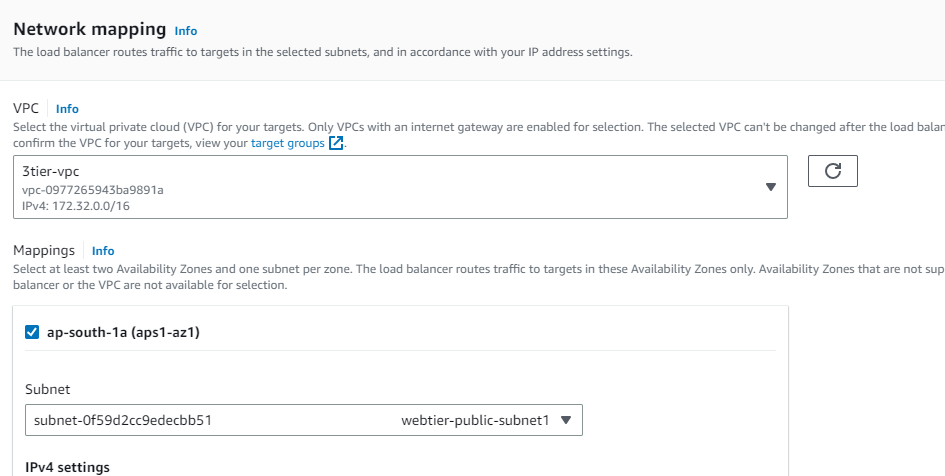
Network mapping → VPC (select the one created say 3tier-vpc), Mappings → select each AZ and the public subnets associated with each)
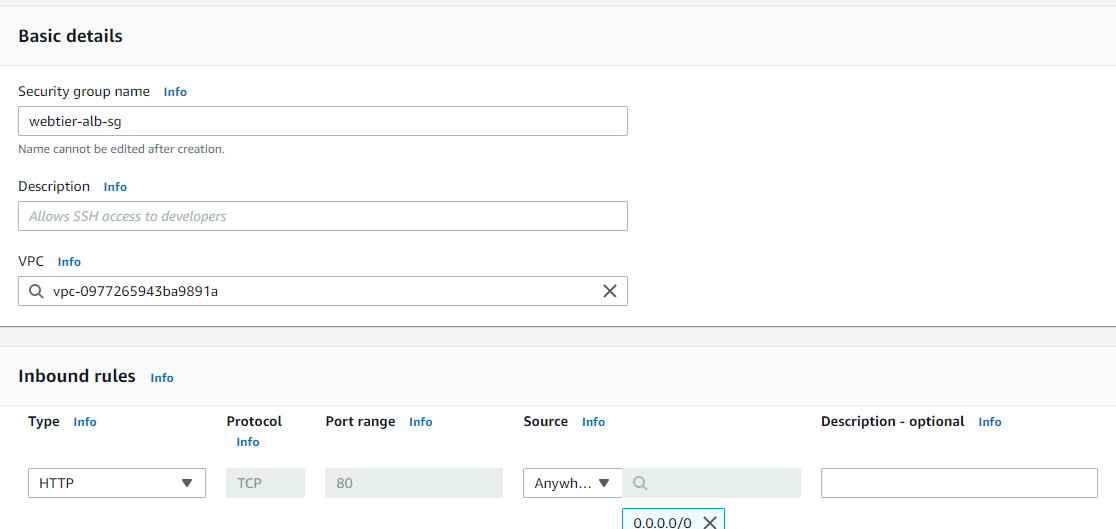
Security groups → Create a new security group (this will open a new tab)→ Basic details → Create a Security group name (webtier-alb-sg), and select the VPC (3tier-vpc) created earlier. Inbound rules must be configured to allow any IPV4 traffic through ports 80 (HTTP) → Create security group
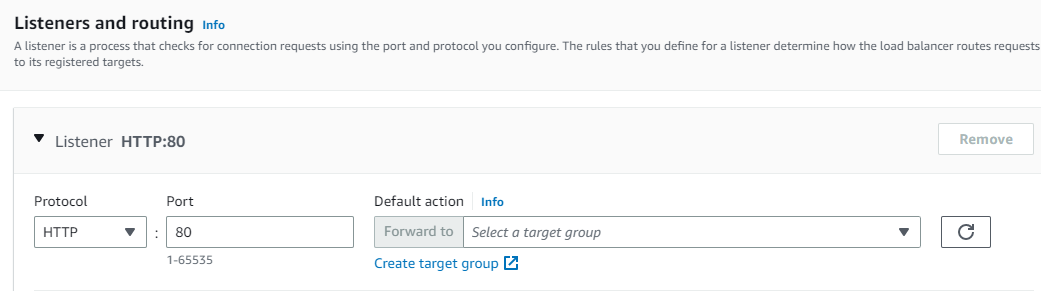
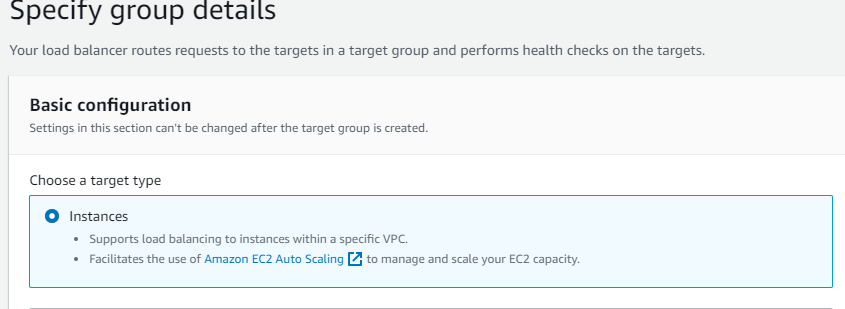
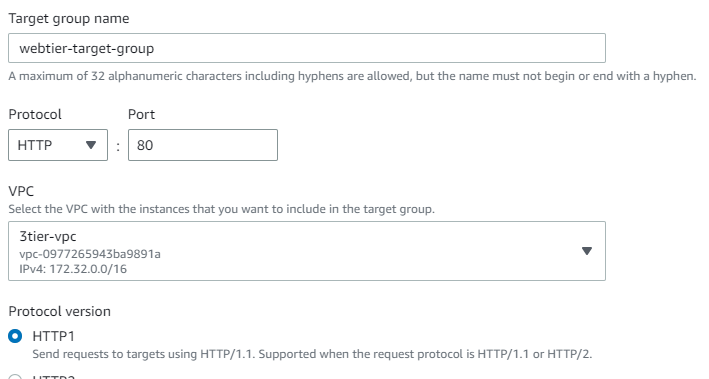
Listeners and routing → Listener should use the HTTP protocol on Port 80 → Create target group (this will open a new tab) → Choose a target type → Select Instances → create a Target group name (webtier-target-group) → accept all other defaults and click Next. Since we have not created the EC2 instances at this stage, we will skip Registering targets for now and Create target group. Now return to the Load Balancer page, select the new target group and Create load balancer.
Note: If your application has multiple tiers, you can design an architecture that uses both internal and internet-facing load balancers. For example, this is true if your application uses web servers that must be connected to the internet, and application servers that are only connected to the web servers. Create an internet-facing load balancer and register the web servers with it. Create an internal load balancer and register the application servers with it. The web servers receive requests from the internet-facing load balancer and send requests for the application servers to the internal load balancer. The application servers receive requests from the internal load balancer.
Creating application load balancer for apptier
follow all the steps the same as for the webtier but in Scheme →select “Internal”.
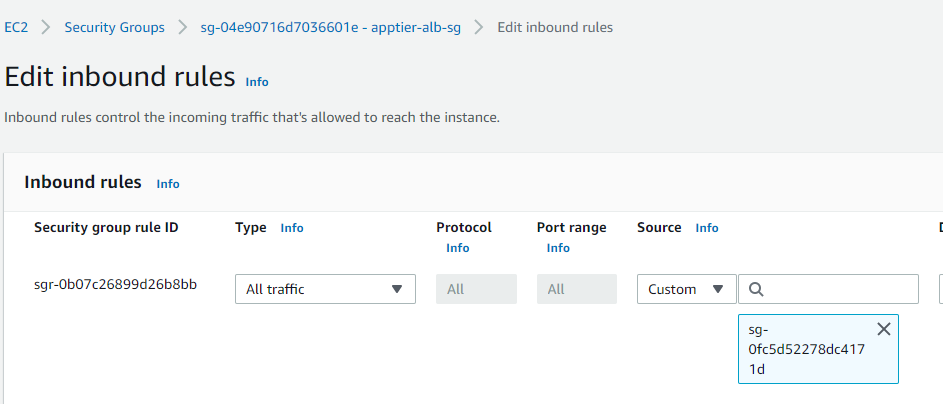
Security groups → Create a new security group (this will open a new tab)→ Basic details → Create a Security group name (apptier-alb-sg), and select the VPC (3tier-vpc) created earlier. Inbound rules must be configured to allow traffic from webtier-alb load balancer so select the security group of your alb**(webtier-alb-sg)** → Create security group
AWS Auto Scaling
AWS Auto Scaling lets you build scaling plans that automate how groups of different resources respond to changes in demand. You can optimize availability, costs, or a balance of both. AWS Auto Scaling automatically creates all of the scaling policies and sets targets for you based on your preference.
Configure Launch Templates
For Webtier:
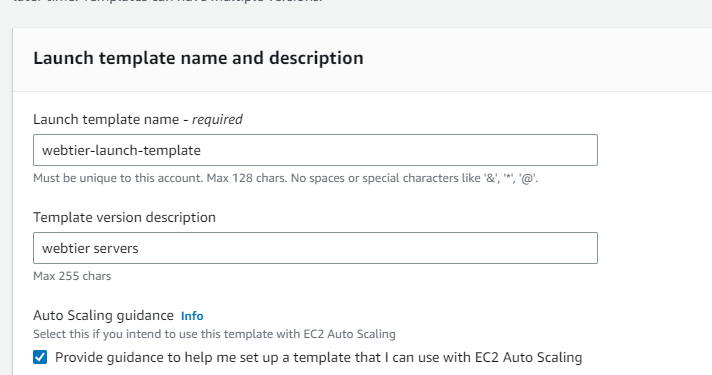
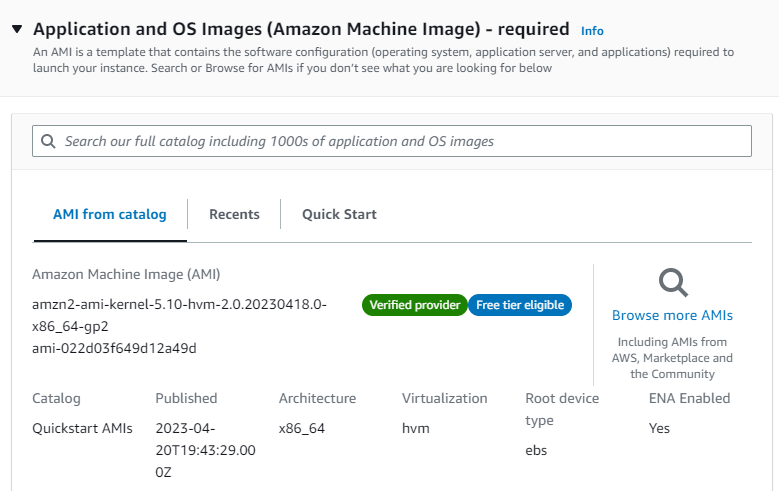
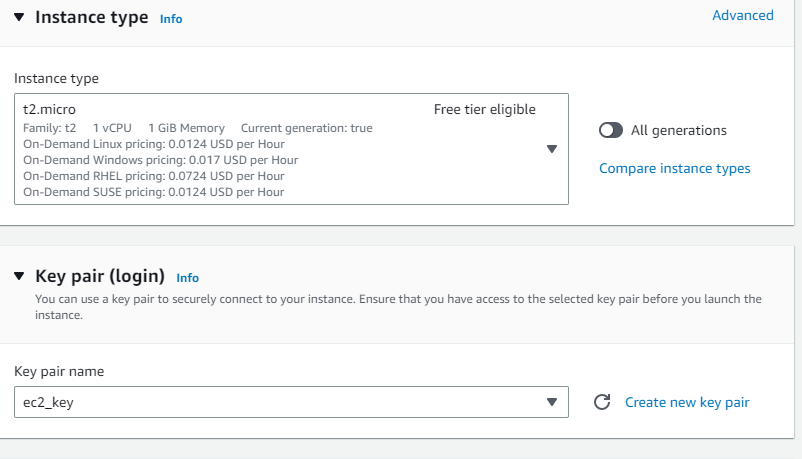
Navigate to EC2 → Instances → Launch Templates → Create launch template → create a Launch template name (webtier-launch-template), Template version description (app tier), select the box under Auto Scaling guidance. AMI → Amazon Linux 2 Kernel 5.10 with a t2.micro Instance type Create new key pair or select an existing key pair.
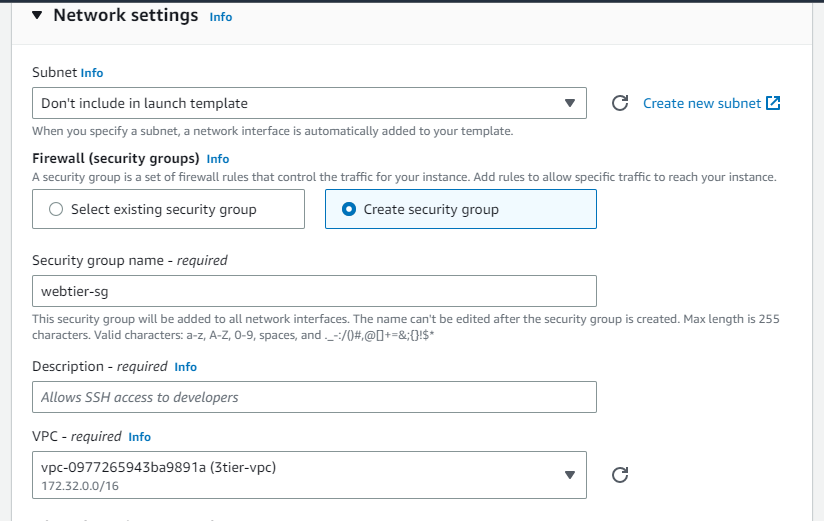
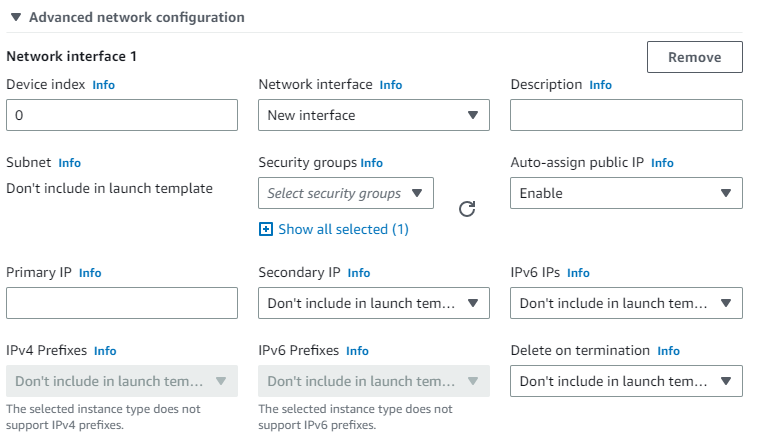
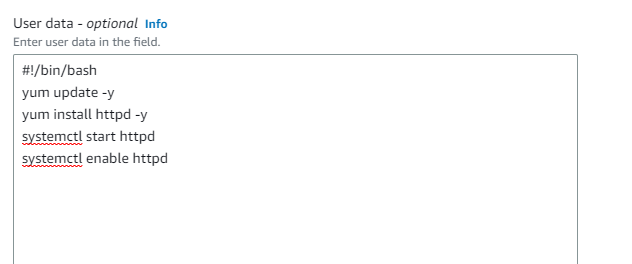
Network Settings → do not specify a subnet in this template. Security groups → Create security group → Create a Security group name (webtier-sg),provide some Description, VPC (3tier-vpc) with rules to allow traffic through ports 80 (HTTP) and 22 (SSH). Go to advance network configuration →add network interference →enable auto assign public ip. Under “User data” under “Advanced details” i have installed Apache web server → “Create launch template”.
Creating Autoscaling group
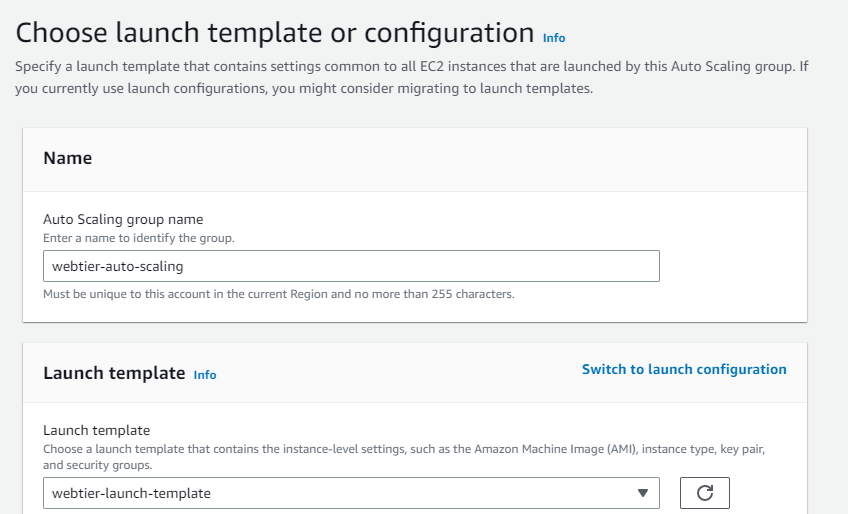
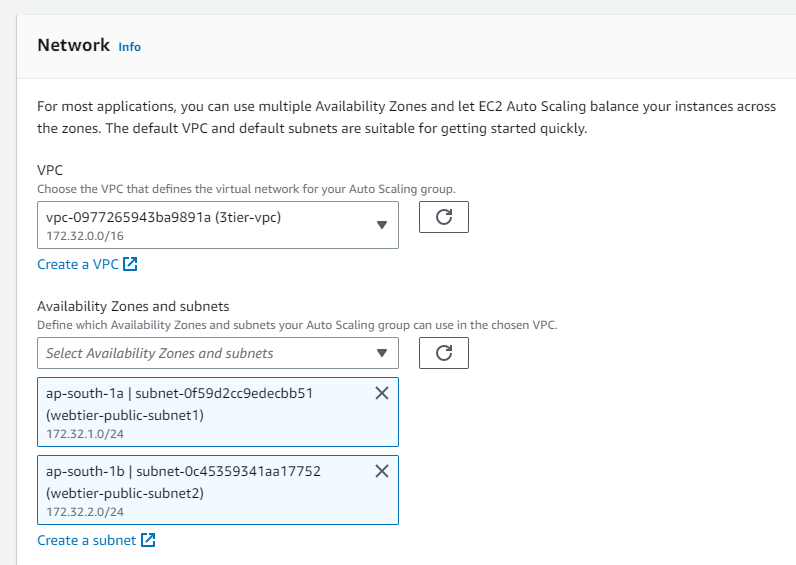
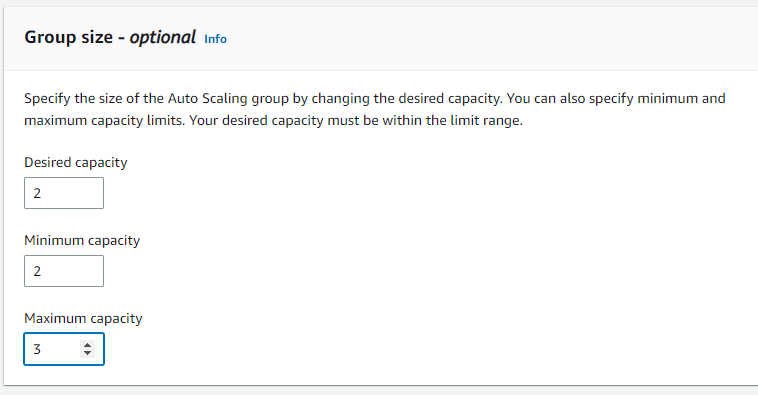
Navigate to EC2 → Auto Scaling groups → Create Autoscaling group (webtier-auto-scaling) using the “Launch template” created for the web tier (webtier-launch-template). Choose your VPC →attach to an existing load balancer → choose your target groups → desired capacity (2) → minimum capacity (2) →maximum capacity(3) These are the number of instances you want**.**

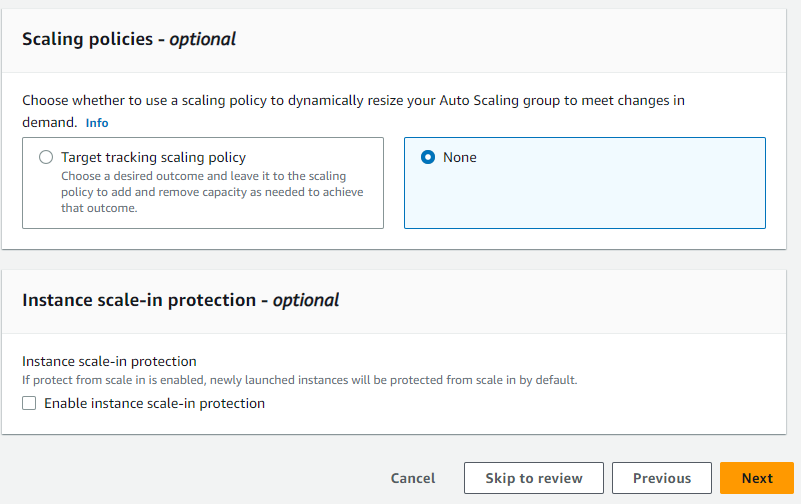
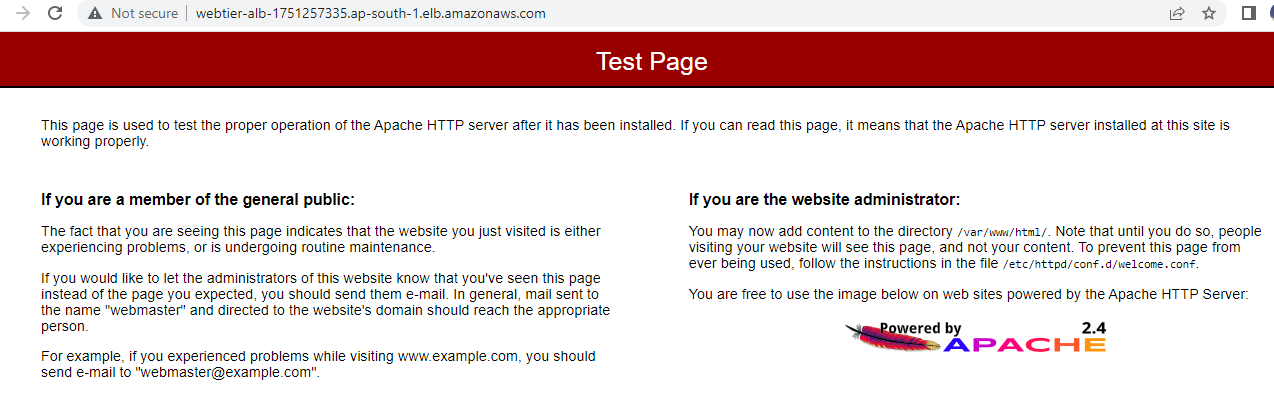
Keep all this as default and create auto-scaling groups. After that, you can observe the instances created on the EC2 console. Also, grab the load balancer URL and paste it into your browser.
Note for Application Tier: I repeated the steps for the web tier, but in the private subnets for the auto scaling group. I also configured the apptier security group by only allowing the traffic from web tiers means web tier’s security group access and also disable auto assign public ip.
Creating database, connecting EC2 and taking backup:
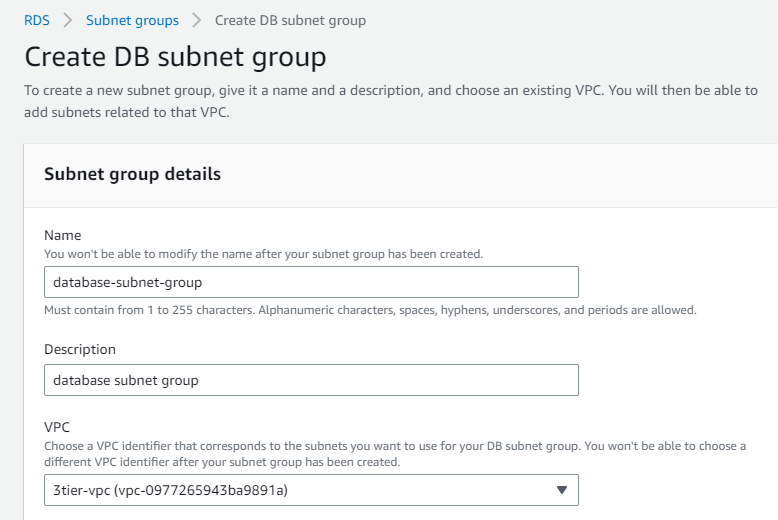
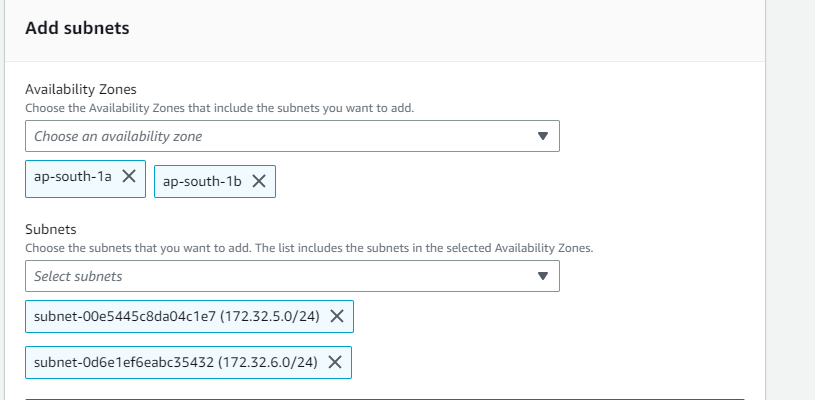
Let's first create a subnet group that we created earlier in vpc . Navigate to “RDS” in the “AWS Management Console” →Create Subnet groups → name your subnet group→ select the vpc → add the subnets → and Create
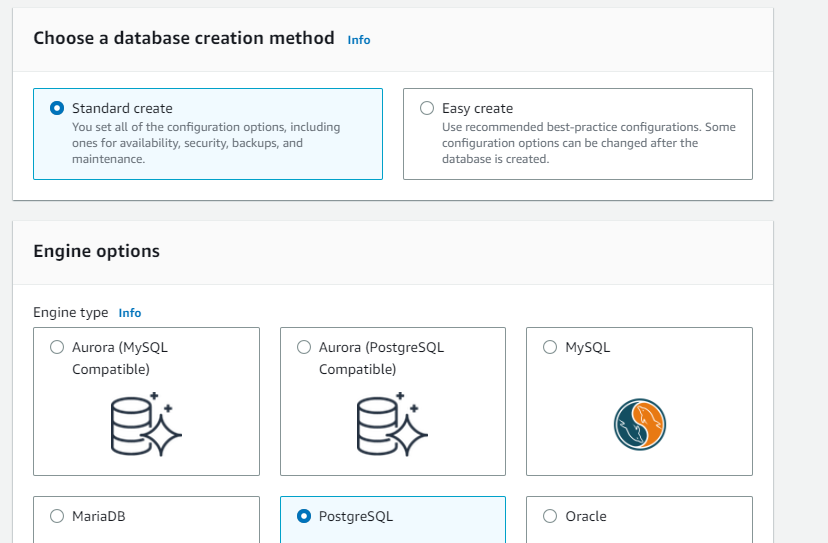
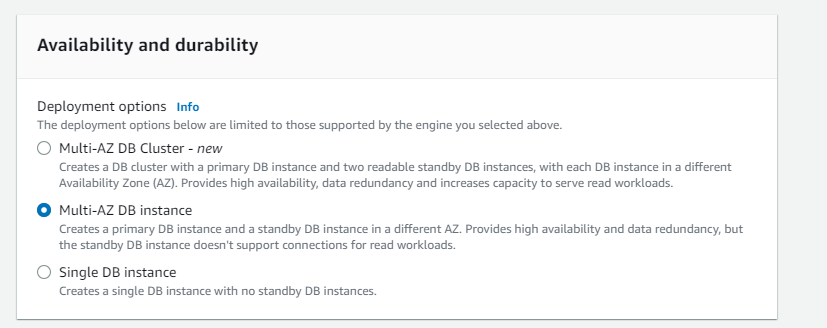
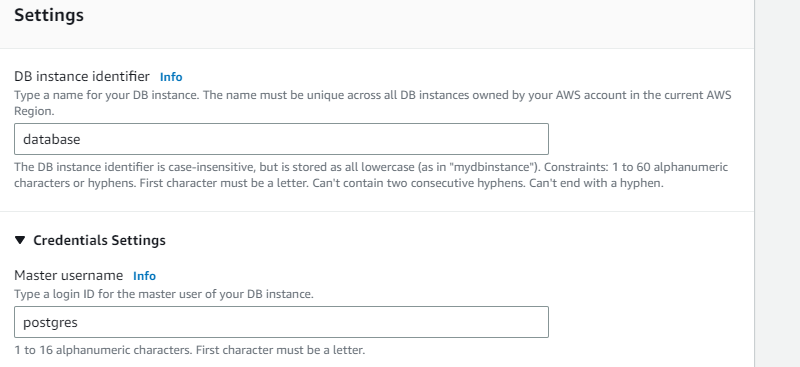
Now navigate to Databases → “Create database” → Select “Standard create” and select the following options to configure the database tier: postgres → template(dev/test) note you can you free tier →Availability and durability (say multi az db instance) → DB cluster identifier (database-1) → Master username → Master password → Instance configuration as per your choice.

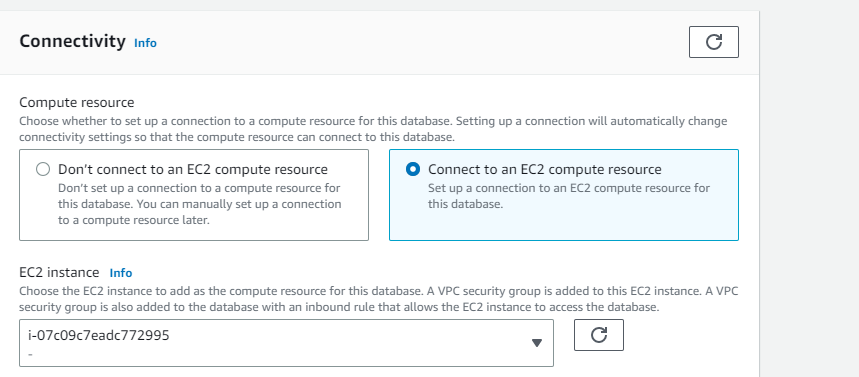
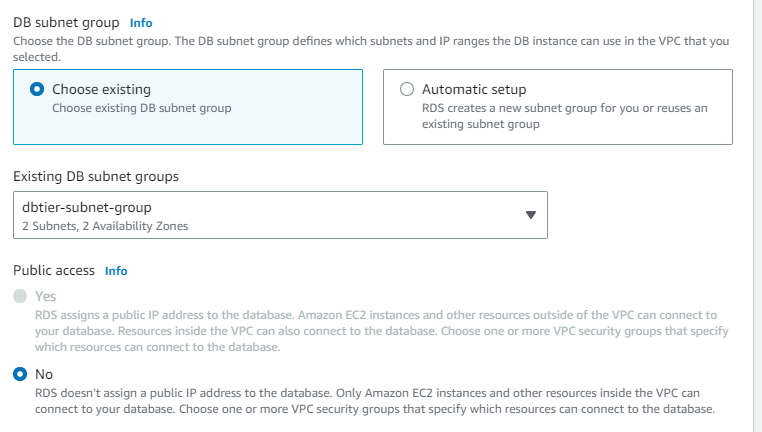
In the connectivity section →connect to an EC2 computer resource →select your instance → choose the subnet db group → No to public access
create a new VPC security group(database-security-group) and note that the 5432 port is added.
Note: later the VPC security group needs to be modified by deleting the default rule and selecting the database port 5432 and identifying the app tier’s security group as a source → Create rule.
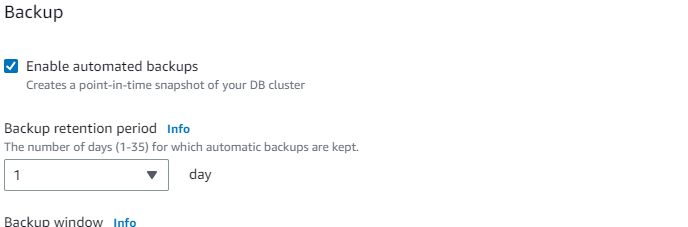
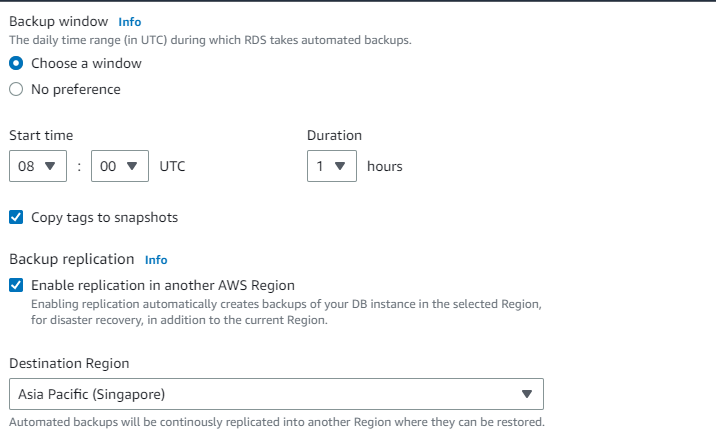
For the backup, we can add the setting → advanced configuration→ backup (retention period say 1). You can also enable backup replication in another region (if you do not opt free tier). → create database.
Once database is up and running you can verifiy your connectivity from apptier instances.
AWS WAF
AWS WAF helps you protect against common web exploits and bots that can affect availability, compromise security, or consume excessive resources. It is a web application firewall service that lets you monitor web requests that are forwarded to an Amazon API Gateway API, an Amazon CloudFront distribution, or an Application Load Balancer. You can protect those resources based on conditions that you specify, such as the IP addresses that the requests originate from.
Creating WAF
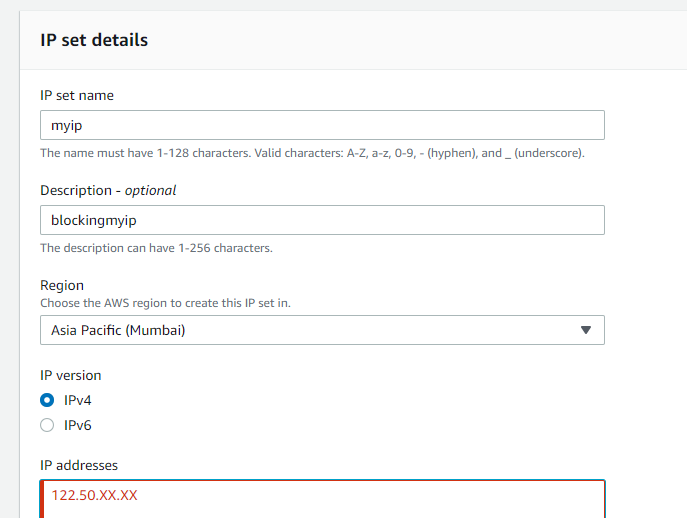
Here I will be blocking my ip to access the webtier application
navigate to WAF → ip sets → give the name → region →give the ranges the ip addresses which you want to block (for demo i am choosing my ip address)
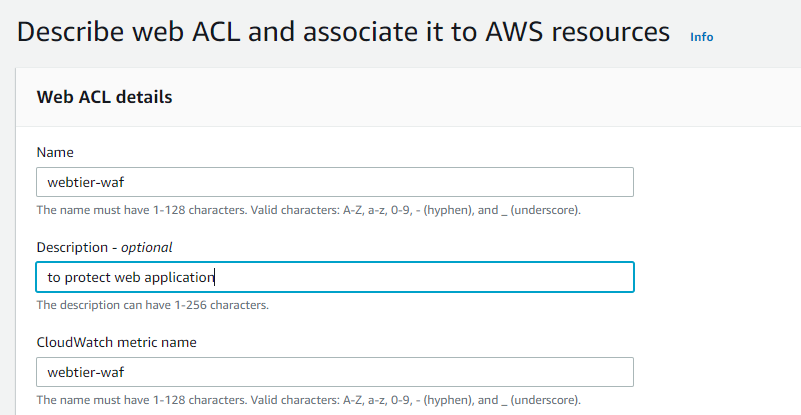
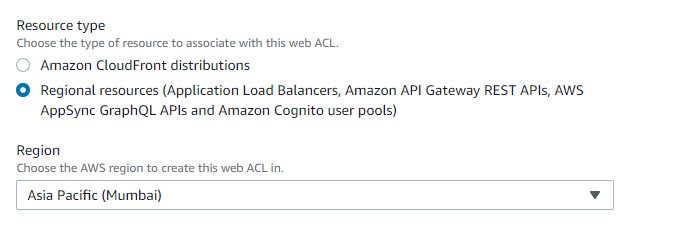
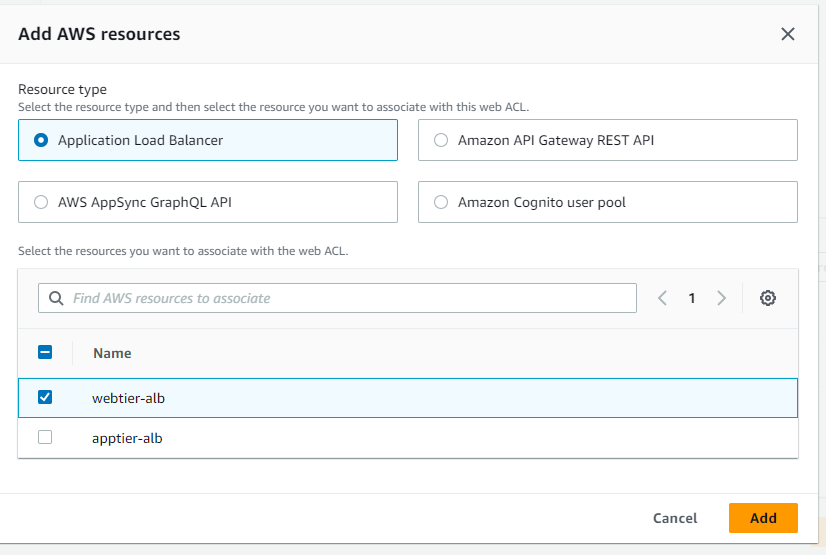
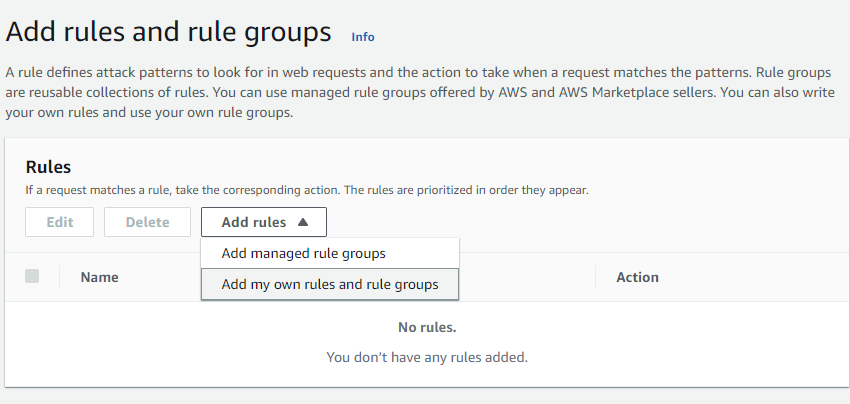
Now navigate to Web ACLS → Create web acl → resource type(application load balancer) → region → add aws resources (application load balancer) select your resource name → add rule and rules groups (add my own rule) → select the ip sets which you created → add block rule → create.
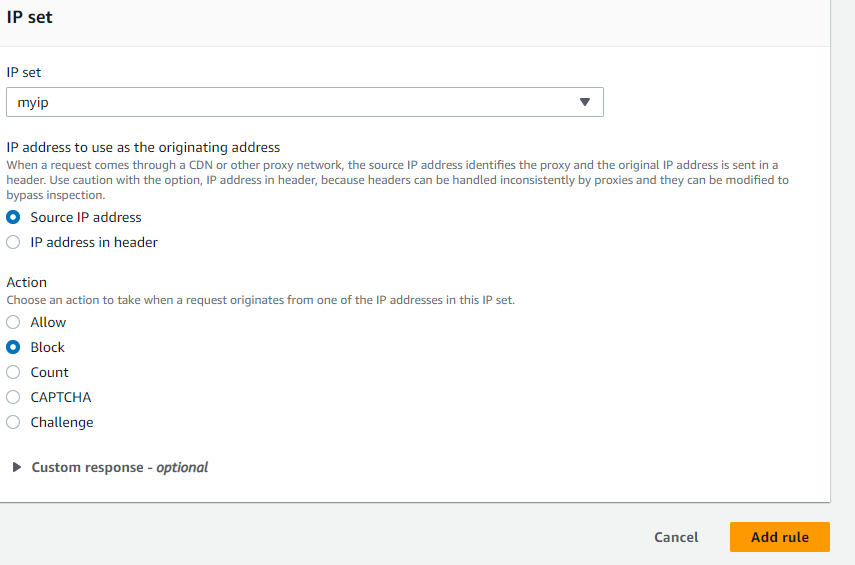
After it has been created check the alb URL from your ip which show a 403 forbidden error.

AWS Backup
AWS Backup is a fully managed backup service that makes it easy to centralize and automate the backup of data across AWS services in the cloud and on premises. Using AWS Backup, you can configure backup policies and monitor backup activity for your AWS resources in one place. AWS Backup automates and consolidates backup tasks that were previously performed service-by-service, and removes the need to create custom scripts and manual processes. With just a few clicks on the AWS Backup console, you can create backup policies that automate backup schedules and retention management.
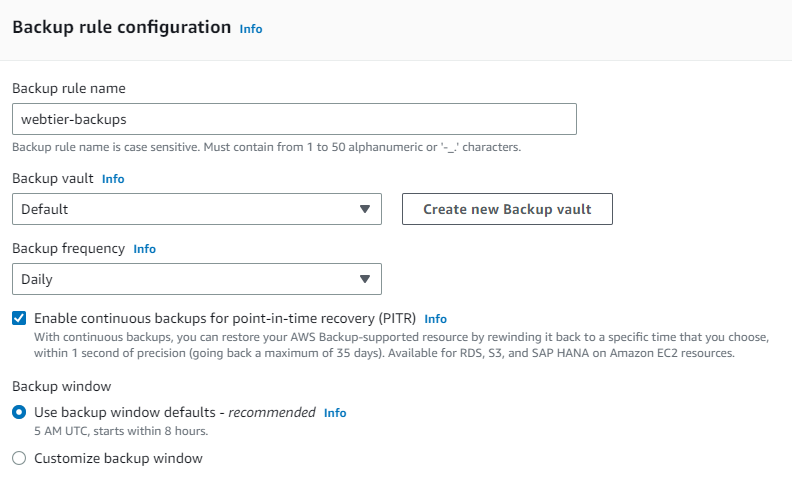
Navigate to AWS backup from the management console → create backup plan → build new plan →name → backup rule configuration (select you backup frequency) → you can use your customize backup window also.
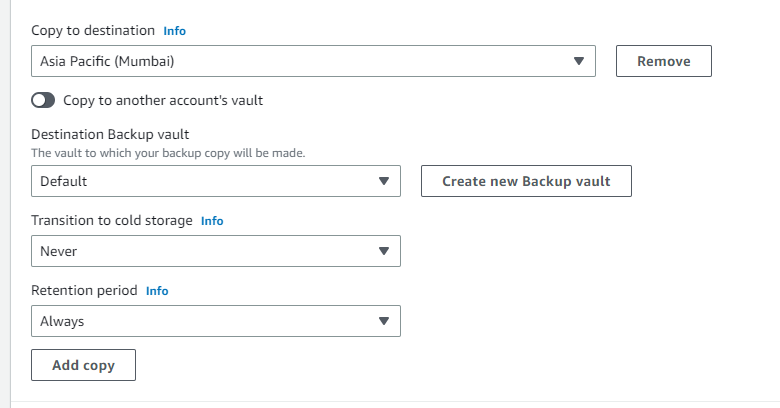
→ choose your destination.
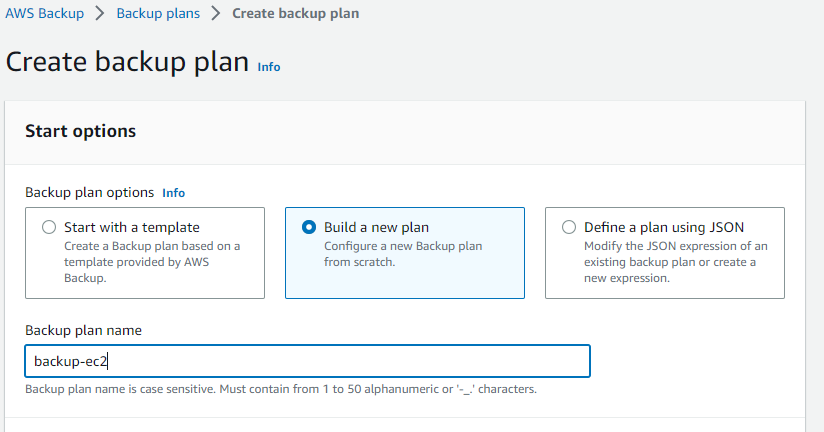
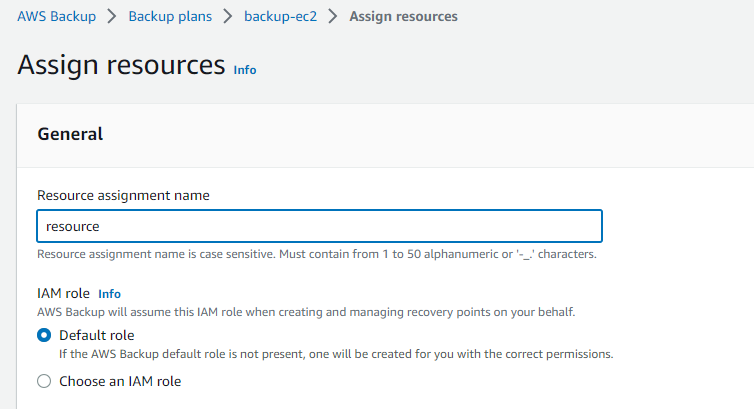
assign resource → name → choose your resource and which back you want here i have selected all the instances which back you want→ create.
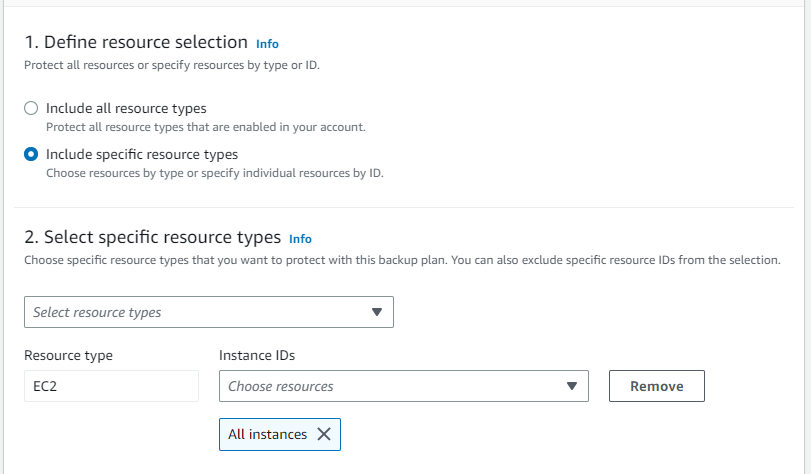
This is how we can have a backup plan for your resources in case of any disaster.
After you have gone through the creation of the resource. Please do not forget to destroy the resources created.
Thank you for reading my blog.
References:


