

Hosting static website on S3 and CloudFront and creating CI/CD pipeline
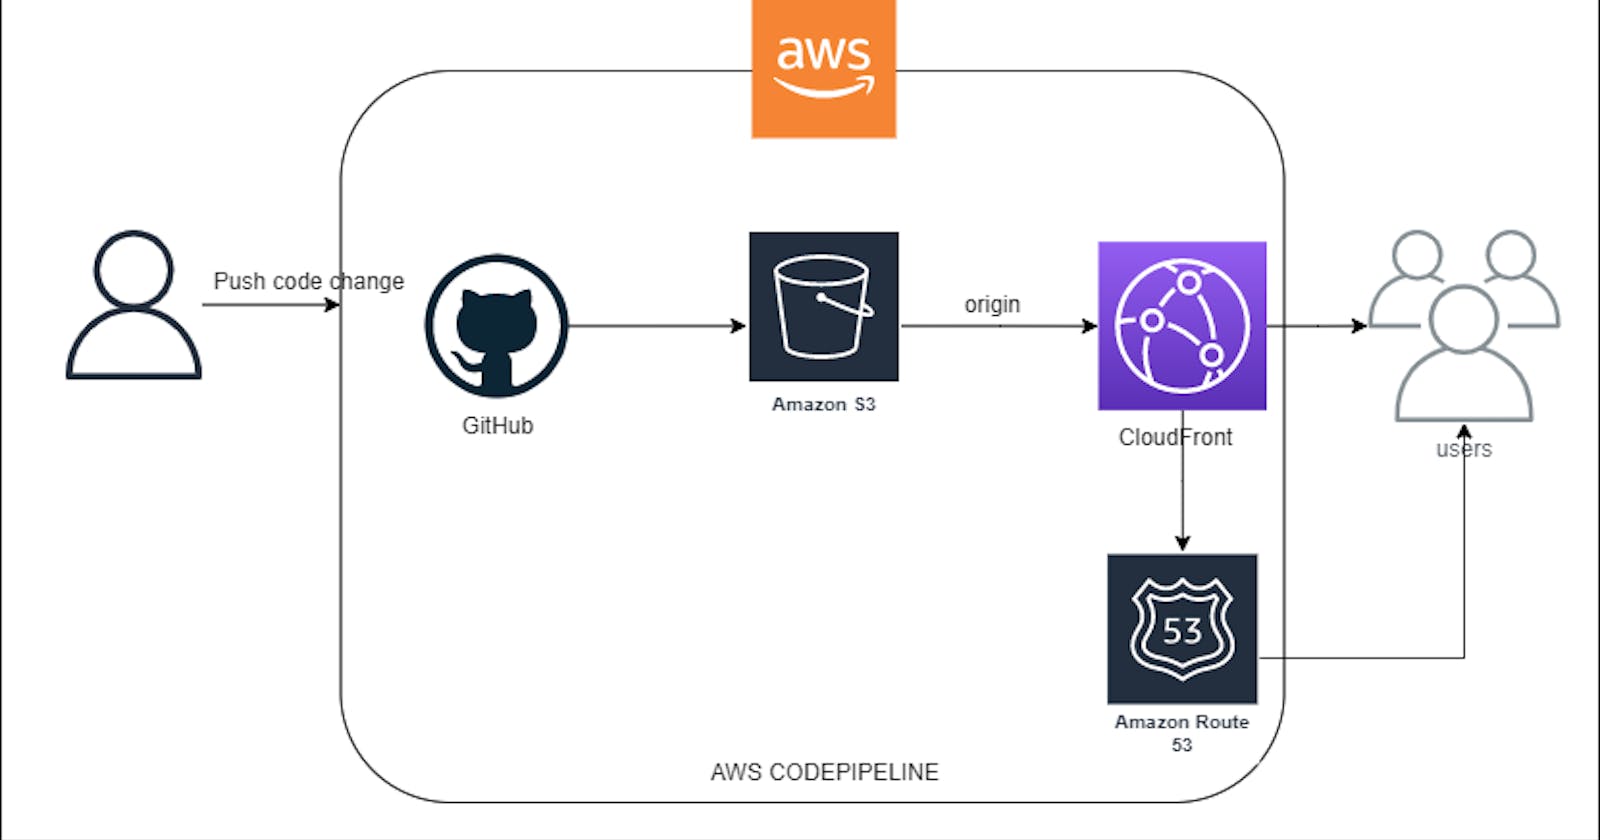
Architectural Diagram


AWS S3 or Amazon Simple Storage Service is an object storage service that stores data as objects within buckets. An object is a file and any metadata that describes the file. Apart from data storage functionality, the AWS S3 bucket provides a feature of hosting static websites over it.
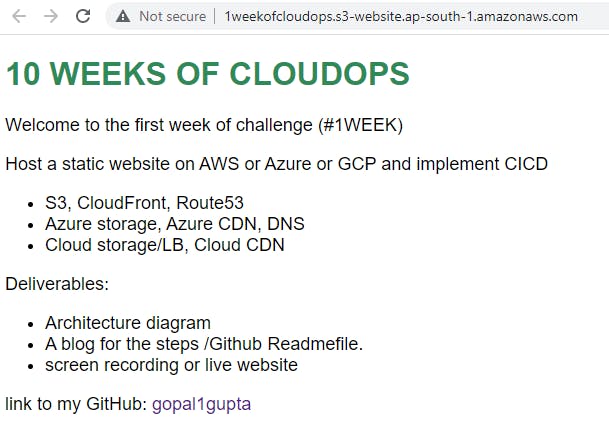
We will be creating a simple website and will be hosting on S3 along with that we will be pointing our website URL on Cloudfront as the origin.
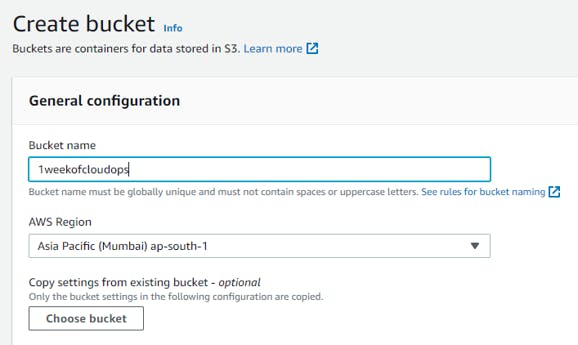
Let's create a bucket where we will be uploading our index.html and index.css
Steps:
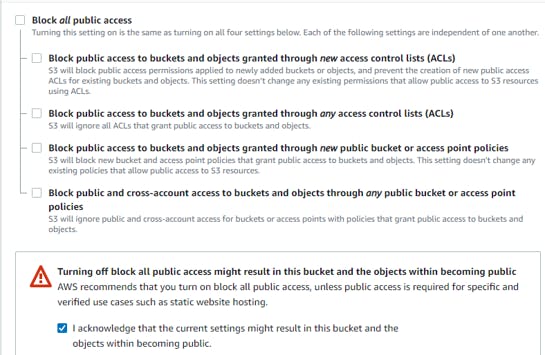
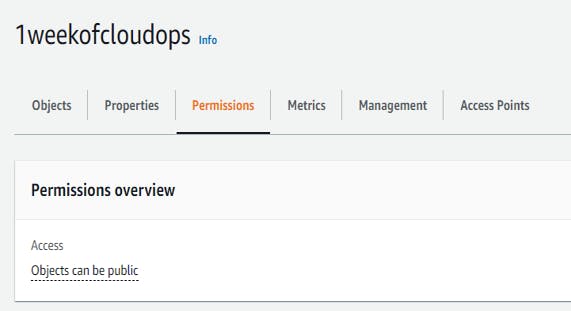
Create a bucket i.e. 1weekofdevops and unmark Block all public access because we will be hosting web on S3, so the bucket should be publically accessible as shown below.
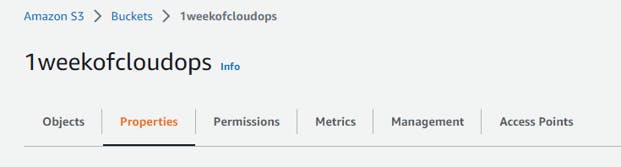
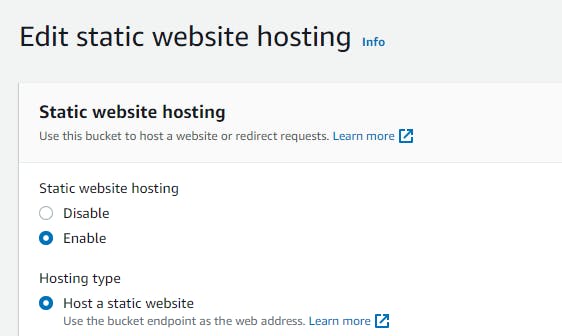
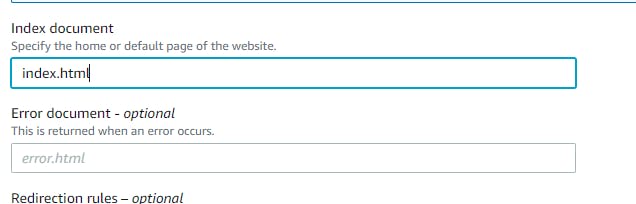
Once the bucket is created, go to the permissions tab of that bucket and go below where you will see the option to enable static website hosting. Enable it and in the index document give the file name containing the html code.
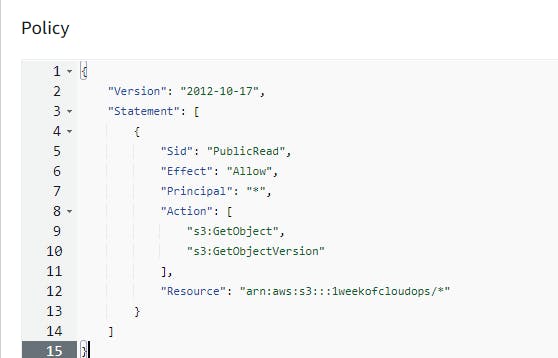
Since your bucket is publically accessible it does not mean your object is also accessible. At the object level, it should also be accessible else it will throw an error in S3 URL. So here we will define the policies at the object level as shown below.
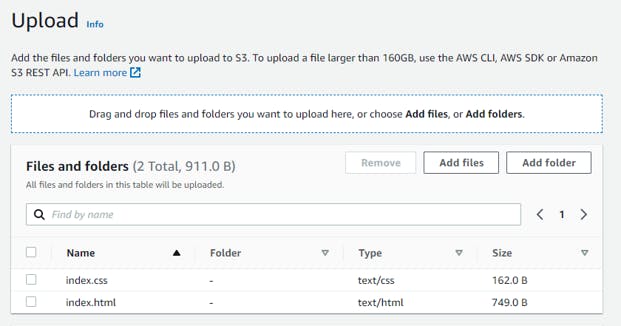
Now upload your file to your bucket as shown and after uploading your files, click on the S3 URL. You will see your web page deployed.

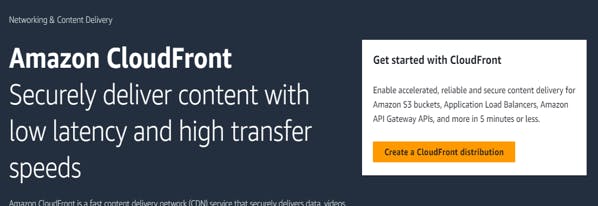
Amazon Cloudfront:
Amazon CloudFront is a content delivery network (CDN) that accelerates the delivery of static and dynamic web content to end users. CloudFront delivers content through a worldwide network of data centers called edge locations. When an end user requests content that you’re serving with CloudFront, the request is routed to the edge location nearest to the end user with the lowest latency.
Steps:
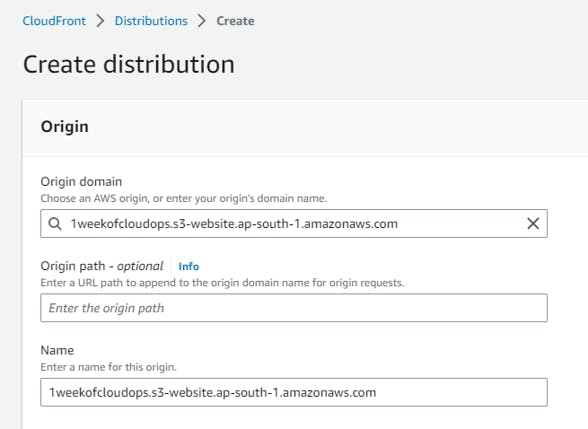
Go the Cloudfront and create a distribution and for the origin, it will automatically pop out the s3 URL when you drop down. Choose that URL
As we move ahead, we will be creating a pipeline, so that whenever codes change it should directly reflect on our webpage. As Cloudfront uses cache content it might delay in displaying our changed content. So, for this, we will be disabling caching as shown below.

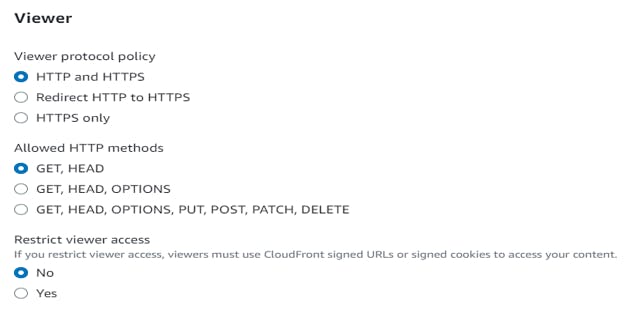
In the viewer, section choose the protocol policy and allowed HTTP methods as per your requirement.
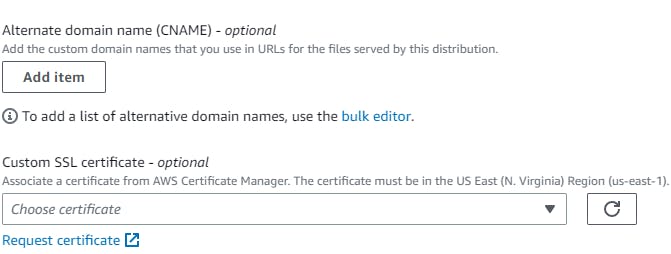
If you have a domain registered or you own any domain name then we can point out Cloudfront Url to that domain in the CNAME section.
You can enable logging that will store the log files of viewers' requests in the S3 bucket. For this, I already created a bucket that will store the logs generated.

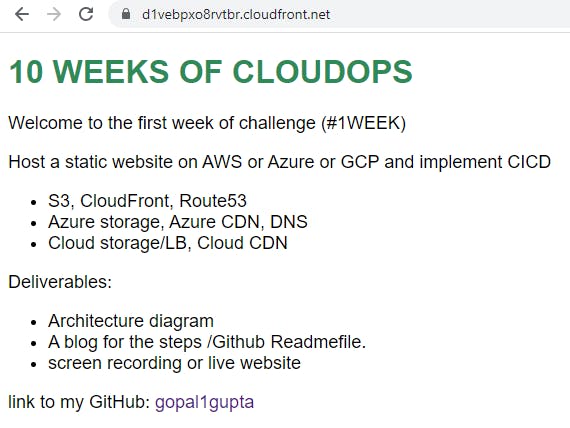
Now keep all things as default and click on Create a distribution. Once it is created you will get the Distribution domain name. Copy and paste it into your browser. Your website is up and running.
AWS CodePipeline:
AWS CodePipeline is a continuous integration and continuous delivery service for fast and reliable application and infrastructure updates. You can use CodePipeline to fully model and automate your software release processes.
AWS CodePipeline can pull source code for your pipeline directly from AWS CodeCommit, GitHub, Amazon ECR, or Amazon S3. It can run builds and unit tests in AWS CodeBuild. CodePipeline can deploy your changes using AWS CodeDeploy, AWS Elastic Beanstalk, Amazon Elastic Container Service (Amazon ECS), or AWS Fargate.
Here we will be creating a pipeline to integrate with my GitHub repos where my codes are and whenever someone commits changes the pipeline should automatically trigger.
Steps:
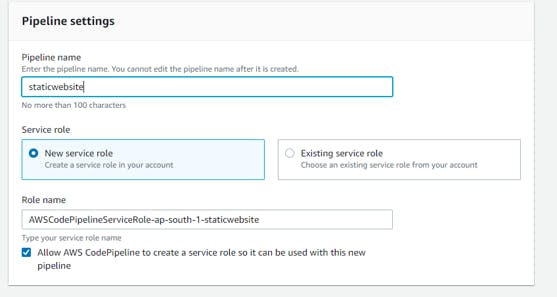
Go to AWS Pipeline, click on create pipeline, name your pipeline and click on Next.

In the Source section, you can choose your repository. For me, I have uploaded it on GitHub so I will be linking Github repo here.


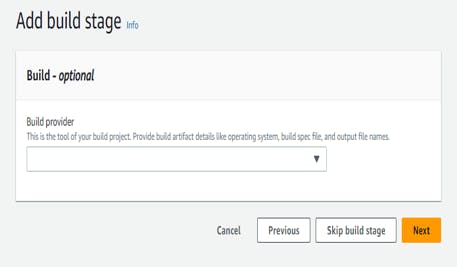
You can skip the build section as we are not building any artifacts.
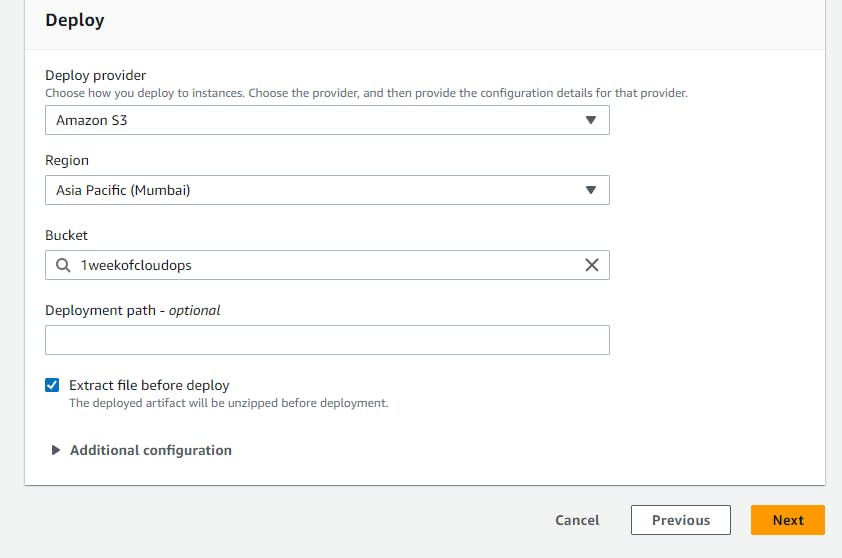
In the Deploy Provider section, give the bucket name where your code files are and whenever changes apply, it should upload the changed files. Check extract files before deploy option as we don't want jar files to be uploaded.
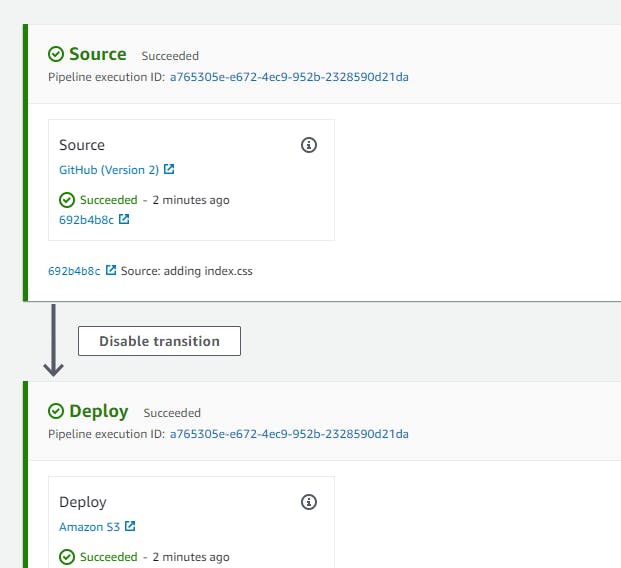
Click on Next and Your pipeline is created. You make some changes to your source code and push it to repo. CodePipeline will automatically detect it and trigger the pipeline.
Note: the URLs you obtained here are AWS-specific. If you own your domain, then you can use AWS Route 53 to redirect CloudFront or S3 URLs to your domain.
AWS ROUTE 53
Amazon Route 53 is a highly available and scalable Domain Name System (DNS) web service. Route 53 connects user requests to internet applications running on AWS or on-premises.
Steps:
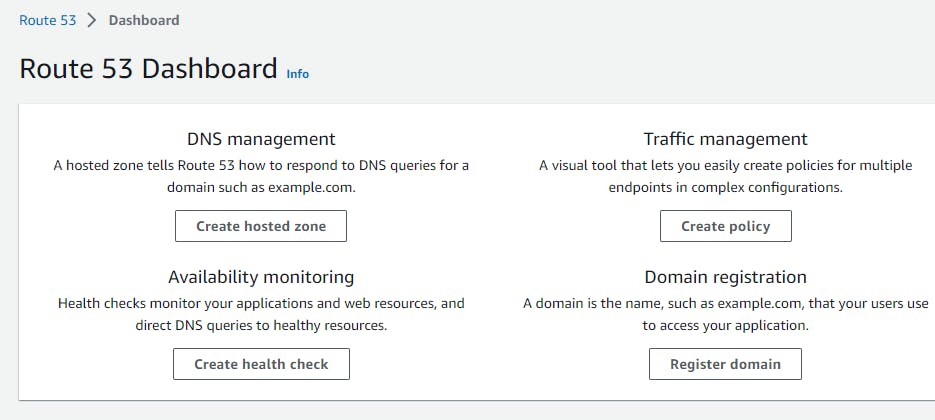
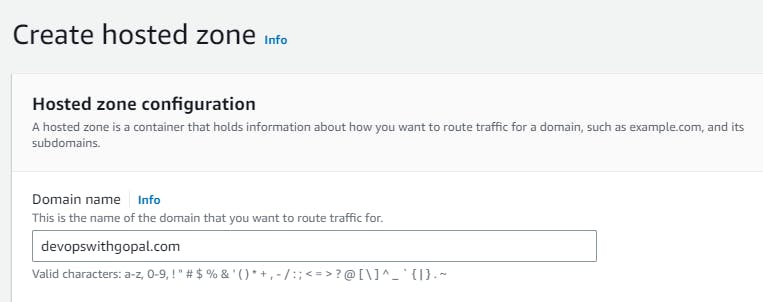
Go to Route 53 and click on Create Hosted Zone.
If you own any domain then enter your domain name.
Now we will create the A records to send requests Cloudfront URL. Check the Alias button and under Route traffic to choose Alias to CloudFront Distribution.
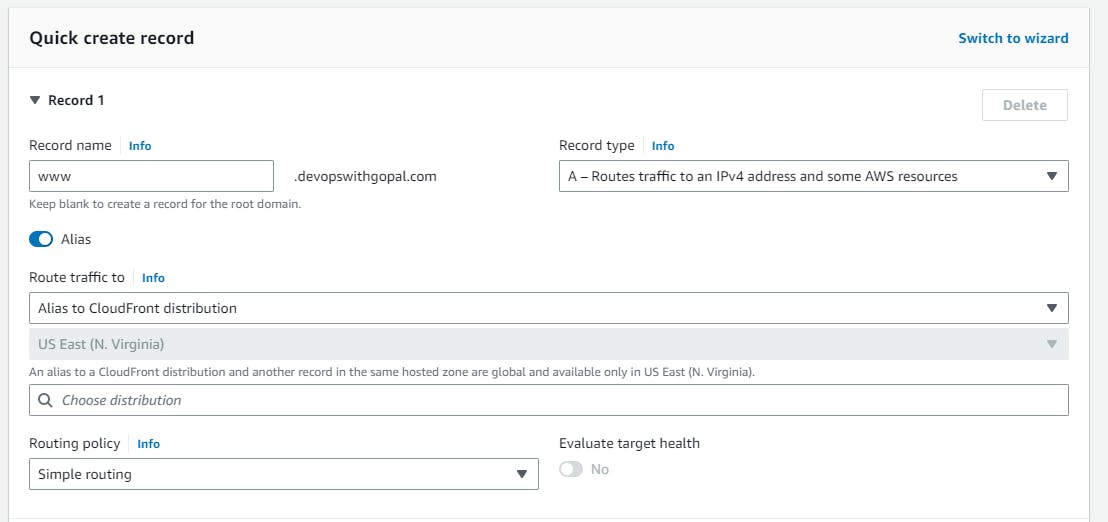
Here we go, you have redirected your domain to CloudFront URL.
Thank you for reading my blog. Happy Learning!!
#10weeksofcloudops
References:
https://docs.aws.amazon.com/AmazonS3/latest/userguide/HostingWebsiteOnS3Setup.html